Importing artwork
You can start from artwork made elsewhere: an SVG from a design tool, or a picture that the editor converts to vector shapes.
See also: Editor guide, Drawing and layers.
What can be brought in
| File | How it arrives |
|---|---|
| SVG | Each shape becomes a path layer you can edit and animate |
| PNG, JPG, WebP, GIF | Traced into flat-colour vector shapes |
Project file (.json) |
Opens as a document |
svgmo file (.json, older .svgmo and .vmotion) |
Opens as a document |
Lottie files cannot be opened.
Ways to import
- Drop the file on the editor window.
- File > Open… (Ctrl/⌘ + O) for any supported file.
- File > Place… (Ctrl/⌘ + Shift + P) for a picture or SVG, added to the open document.
- File > Import SVG… for an SVG.
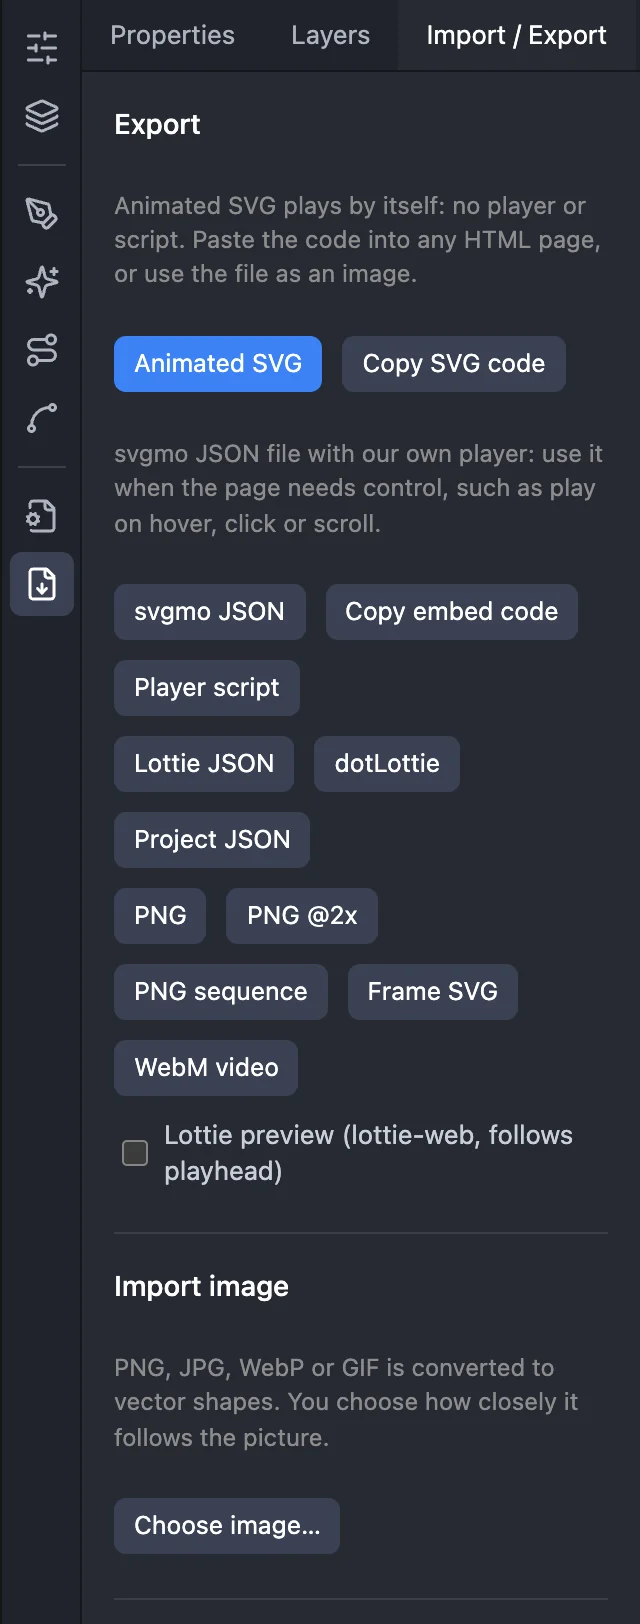
- The Import / Export panel: Import SVG, Import image, Import project JSON, or paste SVG markup into the box.
- The start screen: Trace an image….
SVG
Shapes become path layers with their fills and strokes. Text that was converted to outlines in the design tool arrives as shapes.
Tips:
- Convert text to outlines before exporting the SVG from your design tool. Live text is not imported as letters.
- If nothing seems to arrive, the artwork may be outside the artboard. Use View > Fit All in Window (Ctrl/⌘ + Alt + 0), then Object > Artboard > Fit to Artwork or Center Artwork.
- A whole word often arrives as one layer. See the next section.
One layer per letter
A word, or an icon made of several pieces, is often a single path with many outlines. To animate each piece on its own:
- Select the layer.
- Object > Split into Separate Shapes. The same command is Object > Path > Release Compound Path and a button under Quick actions in Properties.
You get one layer per outline. Holes stay with their letter: the inside of an "o" does not become a separate layer.
The command is greyed out when the layer has only one outline.
Tracing a picture
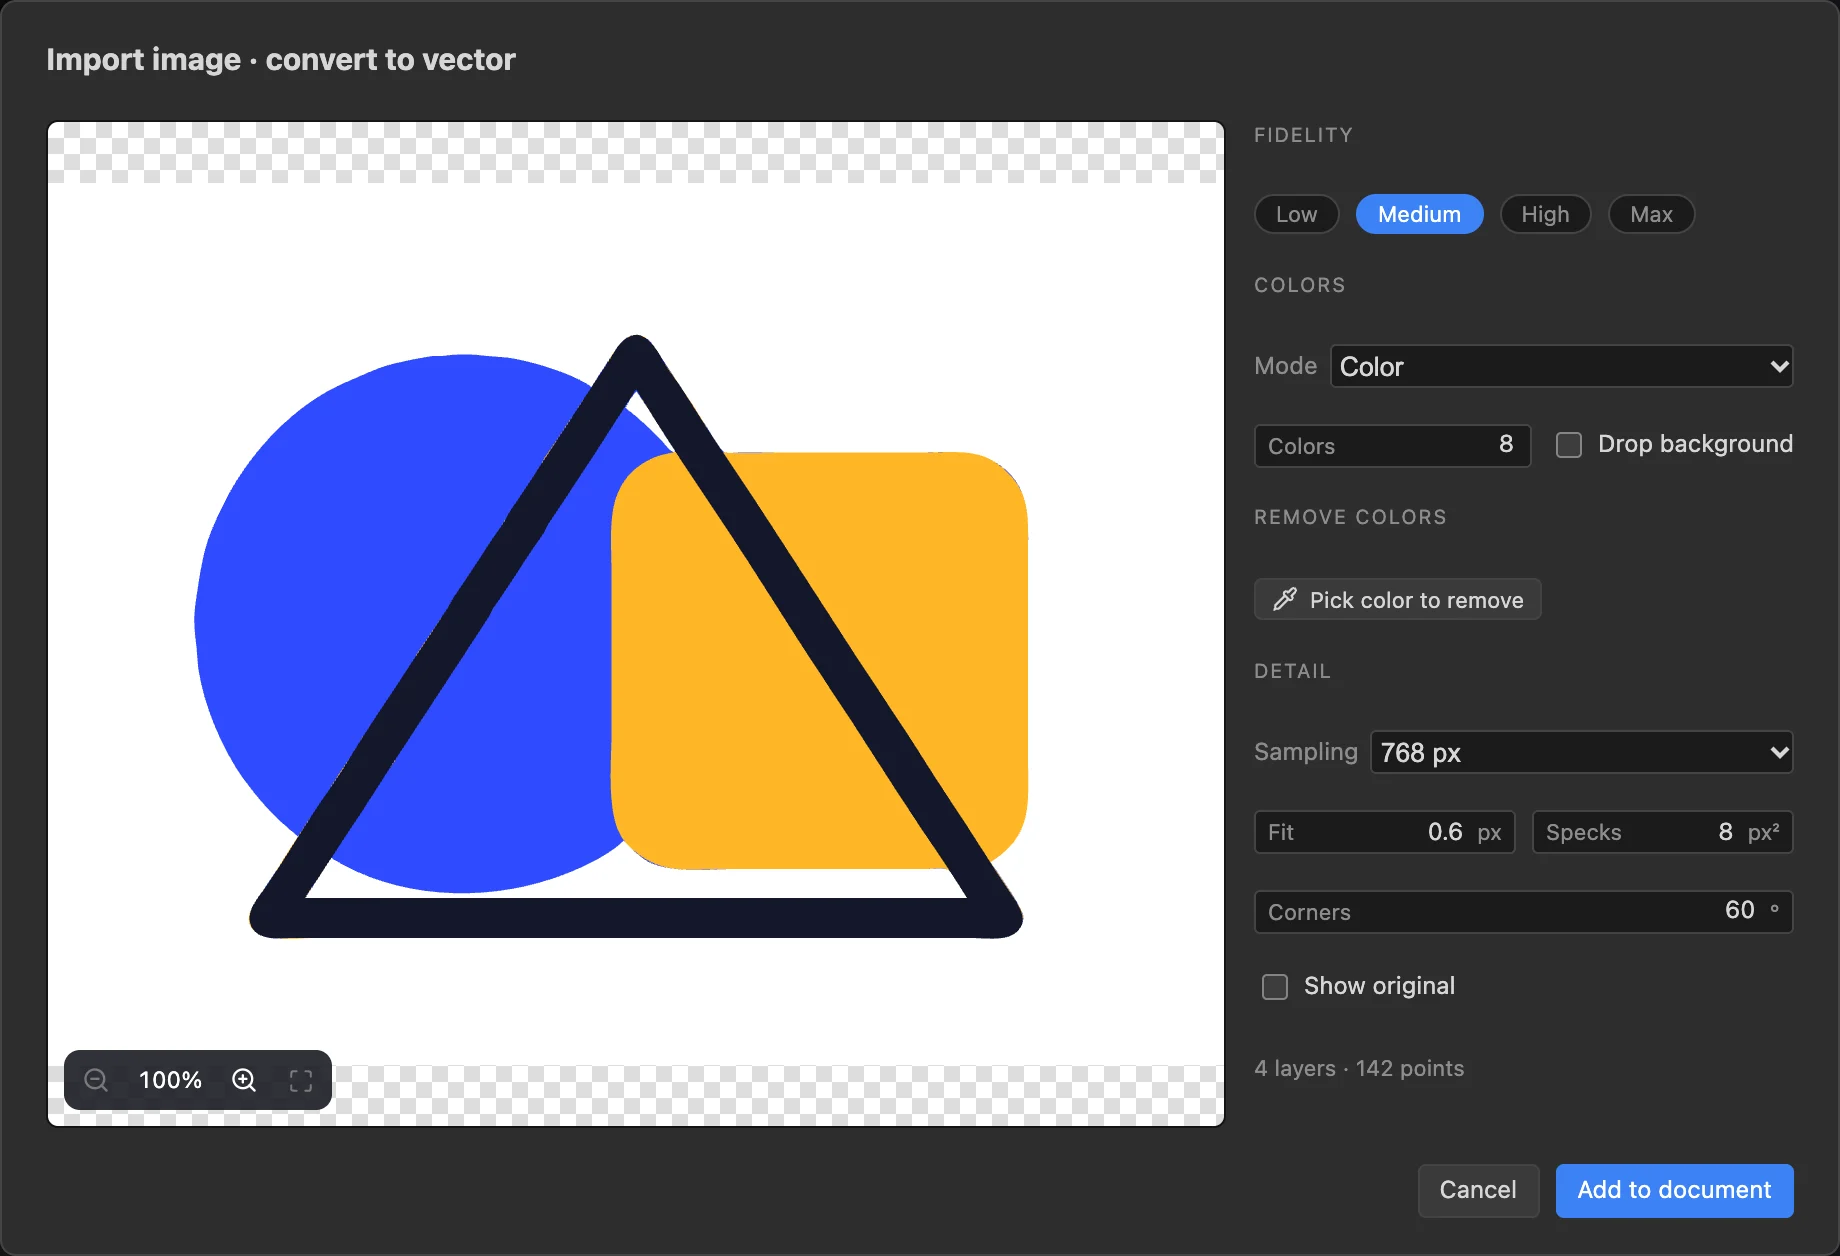
Pictures are made of pixels. Tracing turns them into shapes with clean edges that stay sharp at any size.
- Import a picture. The Import image dialog opens with a preview.
- Choose a mode.
- Adjust the settings until the preview looks right.
- Confirm. The shapes arrive as layers, one per colour region.
Modes
| Mode | Result | Good for |
|---|---|---|
| Color | A set number of flat colours | Logos, illustrations, flat artwork |
| Grayscale | Shades of grey | Pencil drawings, shaded artwork |
| Black & white | One shape | Signatures, ink, silhouettes |
Settings
| Setting | Meaning |
|---|---|
| Fidelity | A preset for the settings below, from simple to detailed |
| Colors | How many flat colours the picture is reduced to |
| Threshold | Black & white only: pixels darker than this become the shape |
| Detail | The picture is scaled to this size before tracing. Larger keeps finer detail and makes more points |
| Fit | How closely the curves follow the outline. Lower is more exact with more points. 0 keeps the exact pixel outline, for pixel art |
| Corners | Turns sharper than this stay sharp corners; gentler turns become curves. 180 means no corners at all |
| Specks | Regions smaller than this are removed |
Removing a background
- Tick Drop background. It leaves out the colour found at the corners of the picture, which removes a plain background in one step.
- Or press Pick color to remove and click a colour in the preview. It is taken out of the result. Repeat for more colours.
- Tolerance sets how far a shade may be from a removed colour and still go with it. Raise it if a fringe of the background is left.
- Removed colours are listed as chips. Click a chip to keep that colour again.
Looking closer
Scroll over the preview to zoom, drag to move, double-click to reset. The +, − and Fit buttons do the same.
Getting a good trace
- Start from the largest, cleanest picture you have. A small or blurry picture gives lumpy edges.
- Use as few colours as the artwork has. A two-colour logo traced with 16 colours gains stray fringe shapes.
- Photos do not trace well. The result is thousands of points and plays slowly. Tracing suits flat artwork.
- If the result is heavy, lower Detail or raise Fit.
After importing
Imported layers are ordinary layers. Rename them in the Layers panel, recolour them, and animate them as in Animating.