Drawing and layers
Everything you draw is a layer. A layer is one shape with a fill, a stroke and a transform. This page covers making shapes, changing how they look, and organising them.
See also: Editor guide, Animating, Importing artwork.
Tools
The tools are on the left. Press the letter to switch.
| Icon | Tool | Key | Use |
|---|---|---|---|
 |
Select | V | Click to select, drag to move, drag the handles to scale and rotate |
 |
Node edit | A | Move the points and handles of a path |
 |
Hand | H | Drag to pan. Holding Space does the same with any tool |
 |
Zoom | Z | Click to zoom in, Alt + click to zoom out |
 |
Artboard | C | Drag the artboard's edges to resize or crop it |
 |
Pen | P | Click for corners, drag for curves |
 |
Pencil | N | Draw freehand. The stroke can become a motion path |
 |
Rectangle | R | Drag to draw |
 |
Ellipse | E | Drag to draw |
 |
Polygon | G | Drag to draw. Set the number of sides in the control bar |
 |
Star | S | Drag to draw. Set points and inner radius in the control bar |
 |
Line | L | Drag from start to end |
 |
Motion path | M | Edit, extend and reshape a layer's motion path |
The tools appear in this order, top to bottom. Under them are the fill and stroke swatches.

The control bar under the menu shows the options for the current tool.
Shapes
- Pick Rectangle, Ellipse, Polygon, Star or Line.
- Drag on the canvas.
- The new layer uses the fill and stroke shown in the swatches at the bottom of the tools.
Object > Shape > New Rectangle and New Ellipse place a shape in the middle of the artboard.
Rectangles have a corner radius (Rad) in the Properties panel.
Rectangles and ellipses stay editable as shapes. To move their individual points, convert them first: Object > Shape > Convert to Path, or Object > Expand….
The pen
- Press P.
- Click to place a corner point. Click and drag to place a smooth point and pull out its handles.
- Click the first point to close the shape. Or press Enter, or double-click, to finish an open path.
- Backspace removes the last point while drawing.
The pencil
Press N and draw. The line is smoothed when you let go. Smooth in the control bar sets how much: higher gives fewer points and a smoother curve.
With a layer selected, the control bar offers to use the stroke as that layer's motion path instead of a new layer. The layer then travels the path at the speed you drew it. See Animating.
Editing points
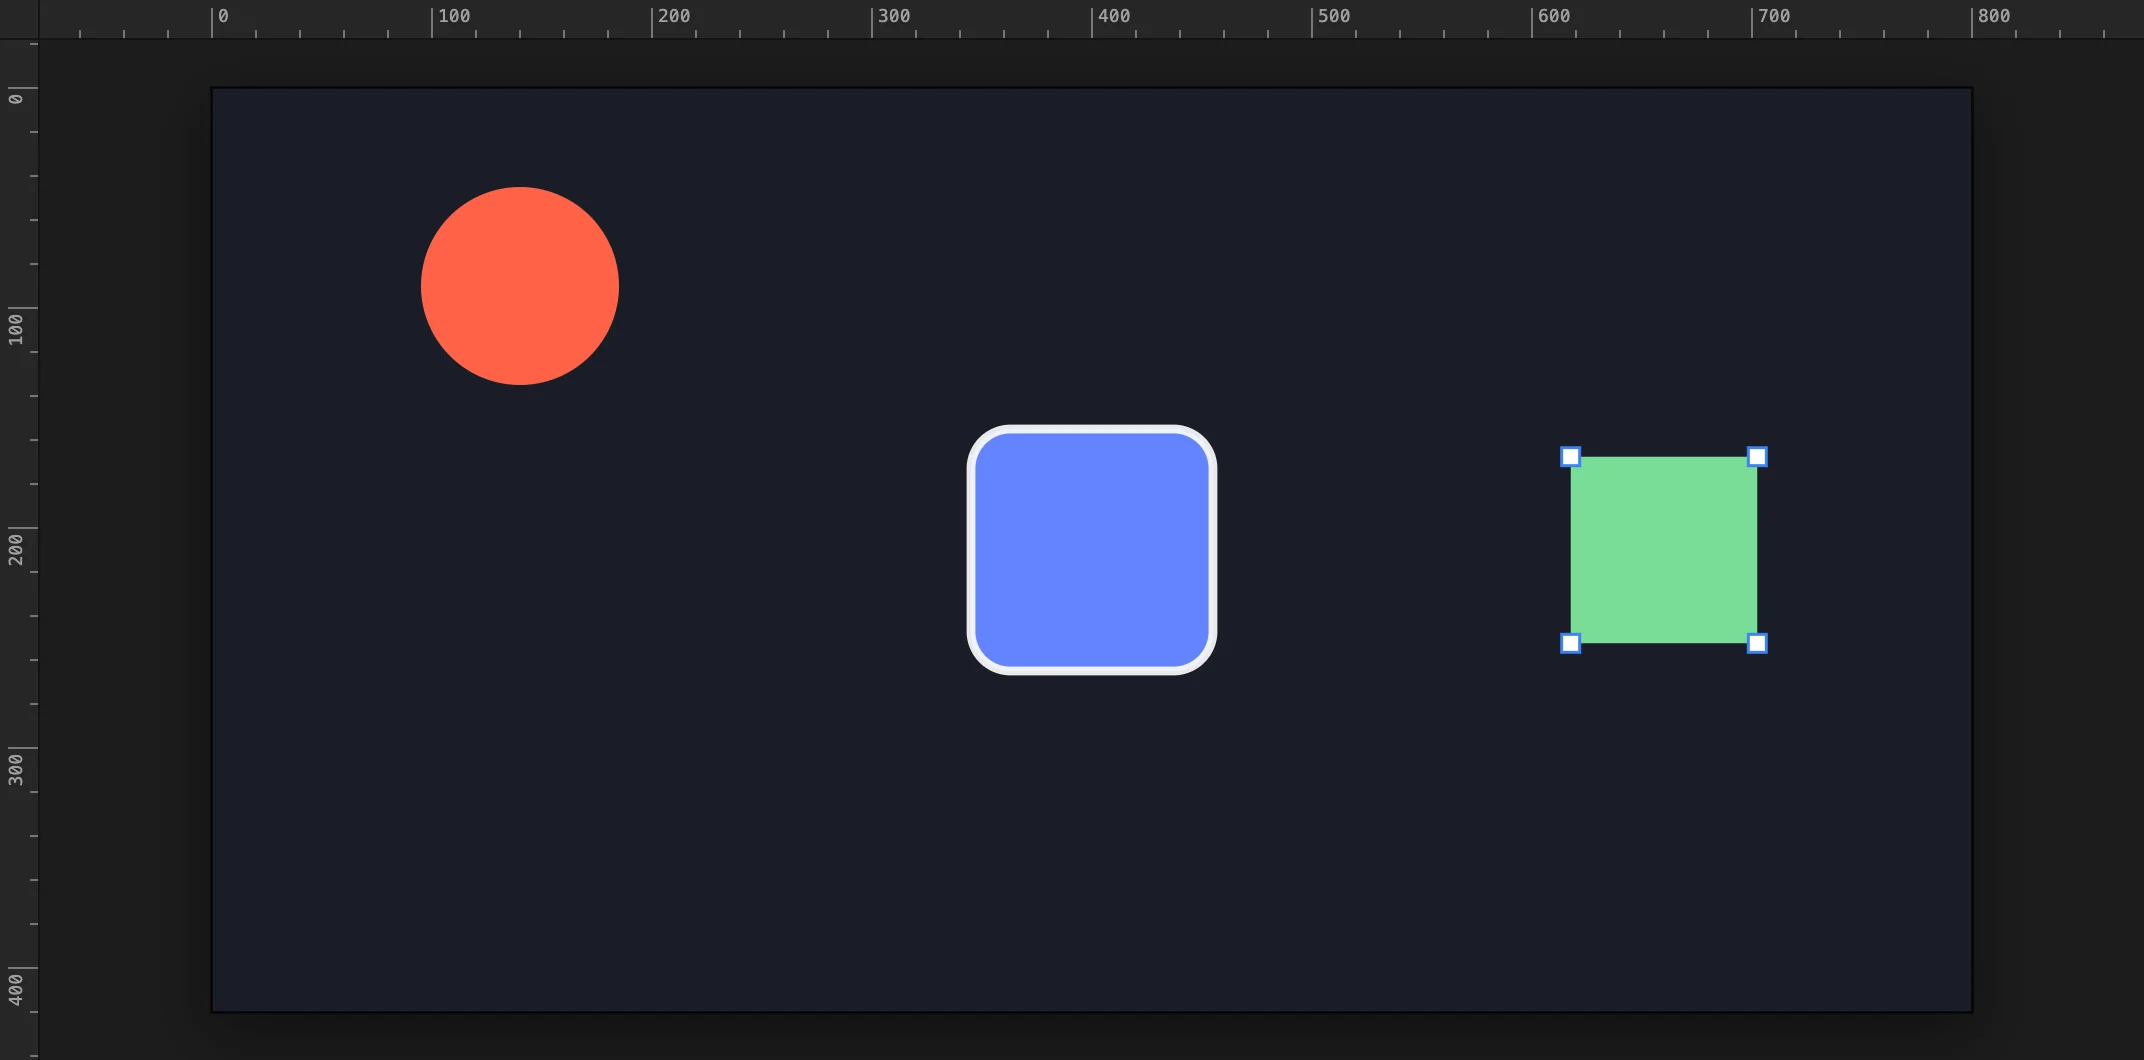
- Select a path layer.
- Press A, or Object > Path > Edit Points.
- Drag a point to move it. Drag a handle to bend the curve.
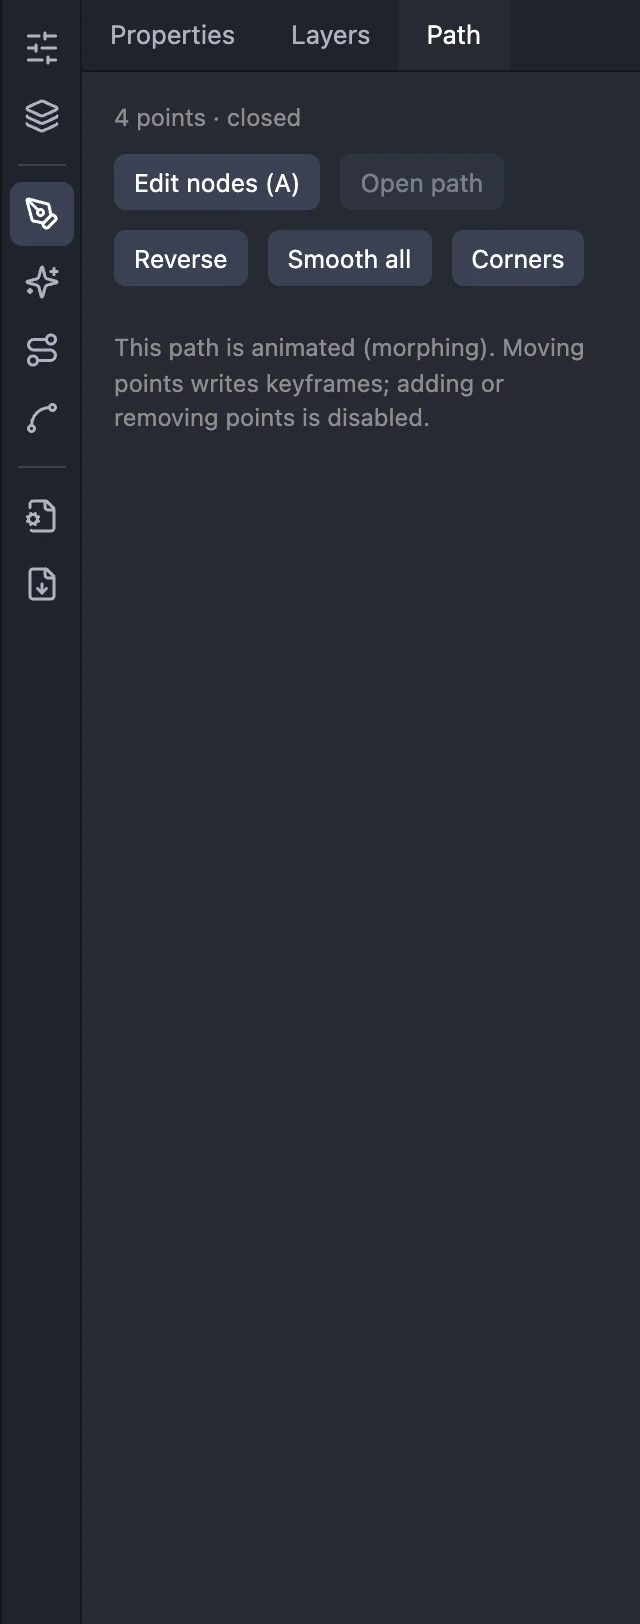
The Path panel and Object > Path have the rest:
| Command | What it does |
|---|---|
| Close Path / Open Path | Joins the last point to the first, or breaks that join |
| Reverse Path Direction | Swaps start and end. Matters for draw-on strokes and motion paths |
| Smooth All Points | Turns every point into a smooth point |
| Convert All to Corners | Turns every point into a sharp corner |
| Release Compound Path | Splits a path made of several outlines into one layer each |
If a path is animated (it has shape keyframes), moving points writes keyframes, and adding or removing points is disabled. Every keyframe of a morph needs the same number of points.
Selecting
| Action | How |
|---|---|
| Select one layer | Click it, on the canvas or in the Layers panel |
| Add or remove from the selection | Shift + click or Ctrl/⌘ + click |
| Select a range of rows | Shift + click in the Layers panel |
| Select by dragging | Drag on empty canvas to draw a marquee |
| Select all | Ctrl/⌘ + A |
| Deselect | Esc |
Locked and hidden layers cannot be selected on the canvas.
Moving, scaling, rotating
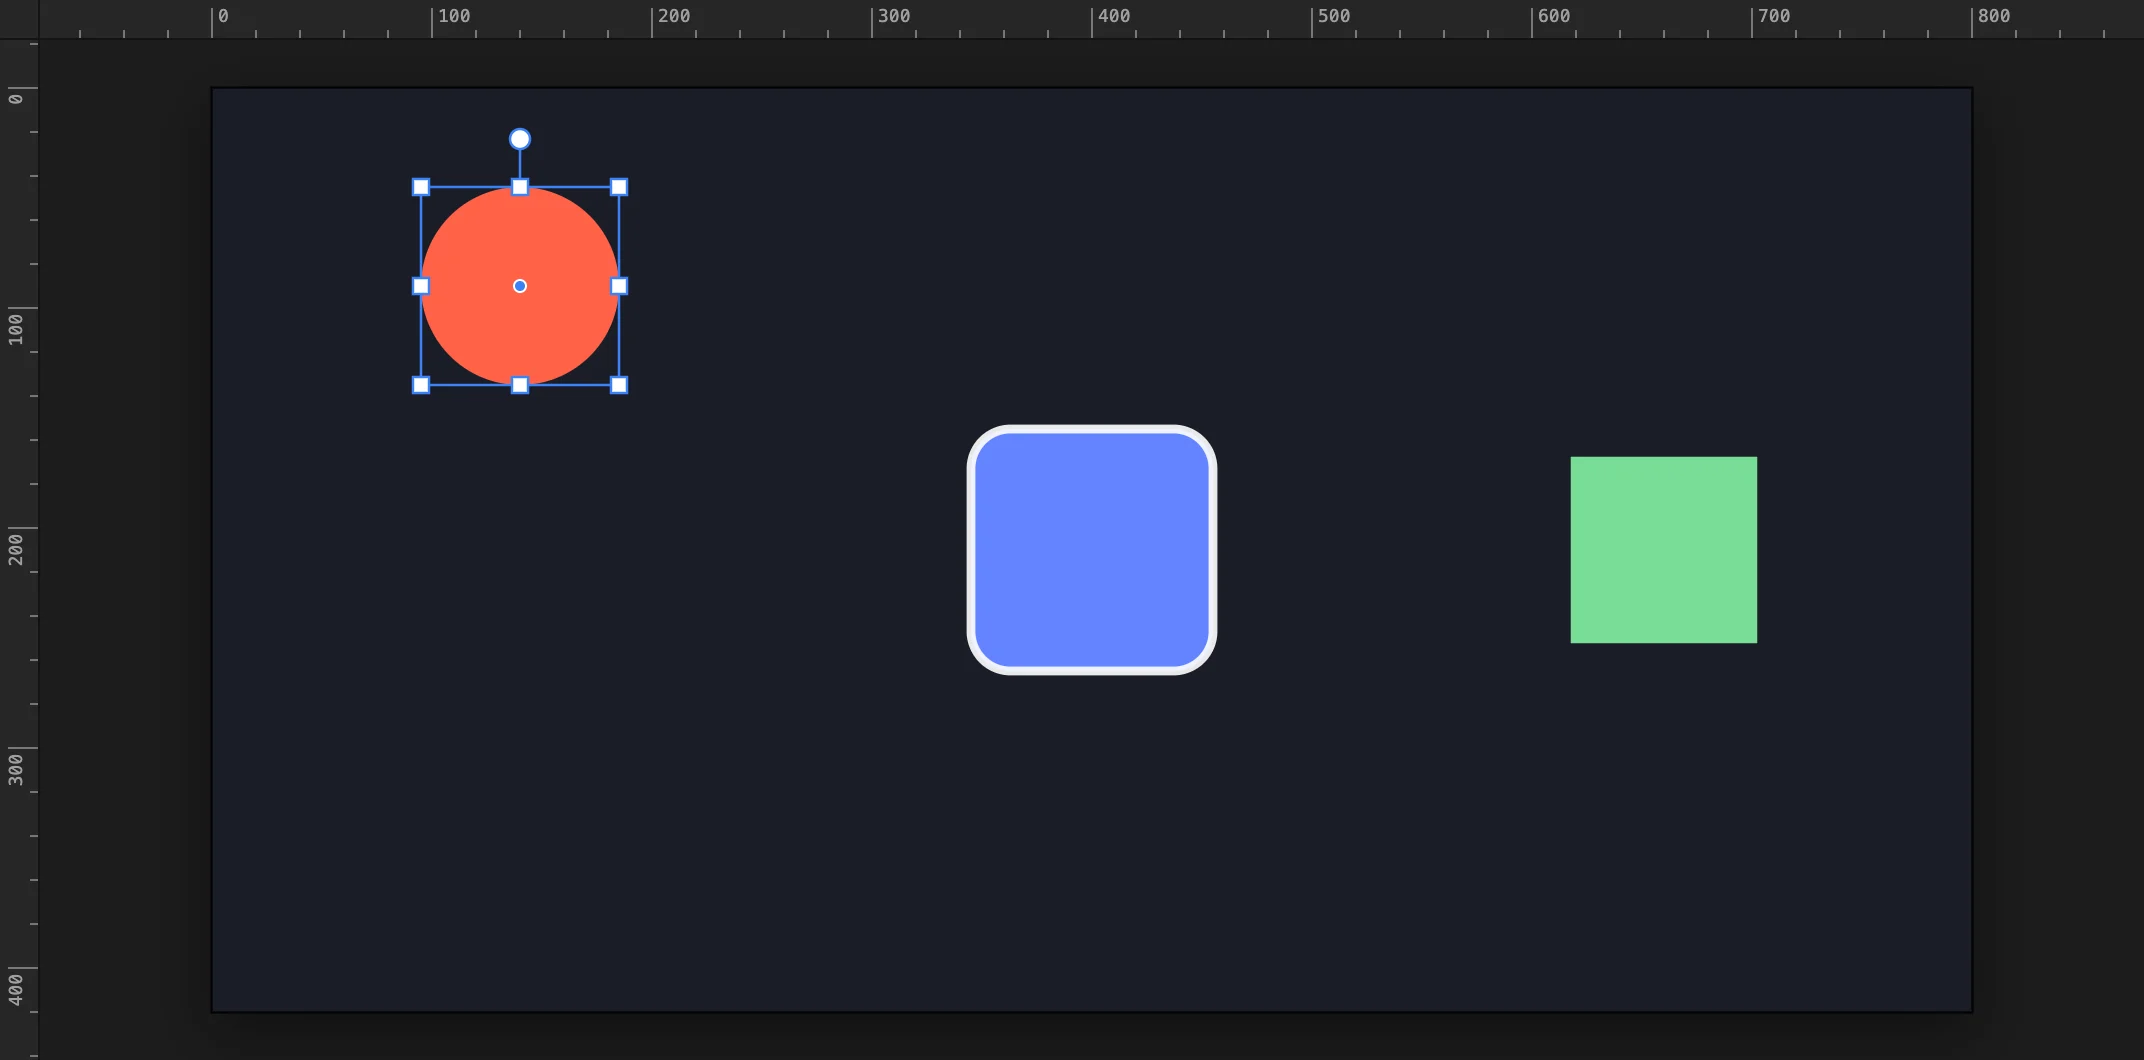
- Move: drag the layer. Arrow keys nudge 1 px; with Shift, 10 px.
- Scale: drag a handle of the bounding box. Hold Shift to keep proportions.
- Rotate: drag just outside a corner handle. Hold Shift for 15° steps.
- Constrain: Shift while dragging keeps the move on one axis. Alt turns snapping off for that drag.
- Exact numbers: type in the Properties panel: X, Y, W, H, SX, SY (scale in percent), Rot, Op (opacity).
Object > Transform has Flip Horizontal, Flip Vertical, Rotate 90° either way, Rotate 180°, and Reset Scale and Rotation.
Object > Make Pixel Perfect rounds a layer's position and size to whole pixels.
If the bounding box is in the way, hide it with View > Hide Bounding Box.
Colour
Fill and stroke swatches
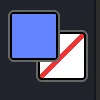
Two swatches sit at the bottom of the tools: fill in front, stroke behind.
- With something selected they show, and change, the selection's colours.
- With nothing selected they set the colours for the next shape you draw.
- X swaps fill and stroke. D resets them to the defaults.
The same swatches are in the control bar and the Properties panel.
The colour picker
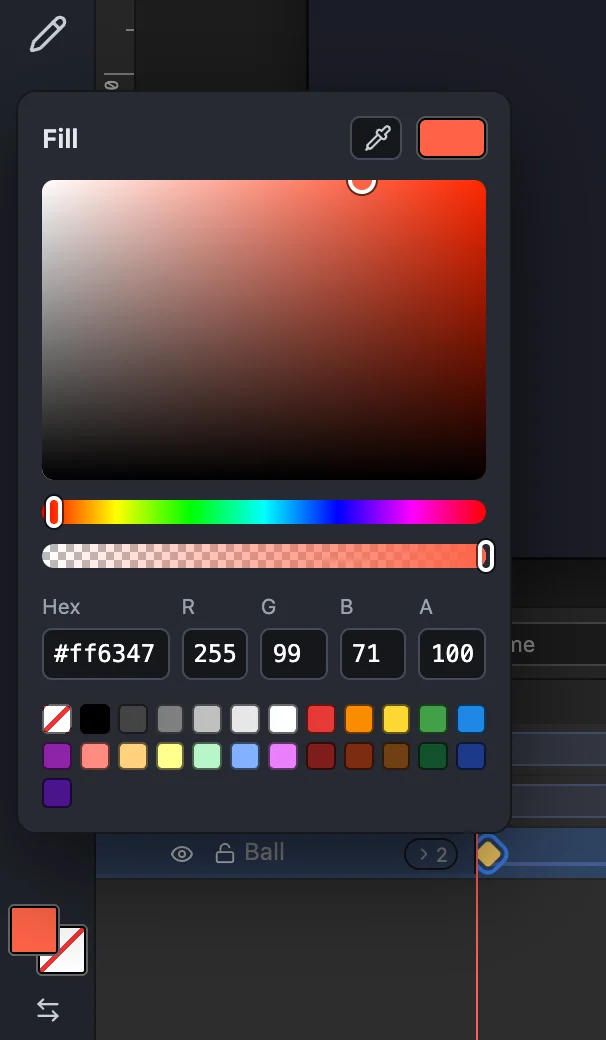
Click a swatch to open the picker.
- Drag in the square for shade, the Hue bar for colour, the Opacity bar for transparency.
- Type a hex value.
- Swatches has a starter palette. Recent keeps the colours you used last.
- None removes the fill or the stroke.
- The eyedropper picks a colour from the canvas or anywhere on screen. It needs a Chromium browser.
A colour change applies to every selected layer.
Gradients
In the fill section of Properties, choose Solid, Linear gradient or Radial gradient.
- Click a stop to change its colour. Remove a stop with its remove button.
- Angle turns a linear gradient. Radius sizes a radial one.
Strokes
In the stroke section of Properties:
| Setting | Meaning |
|---|---|
| W | Width |
| Cap | How an open end is finished: butt, round or square |
| Join | How corners are drawn: miter, round or bevel |
| Dash, Gap | Dashed line. A dash of 0 gives a solid line |
| Trim from, to | Shows only part of the stroke, in percent. Animate it for a line that draws itself |
Dashes are not used while a stroke is trimmed.
Blend mode
Object > Blend Mode sets how a layer mixes with what is under it: Normal, Multiply, Screen, Overlay and the rest.
Layers
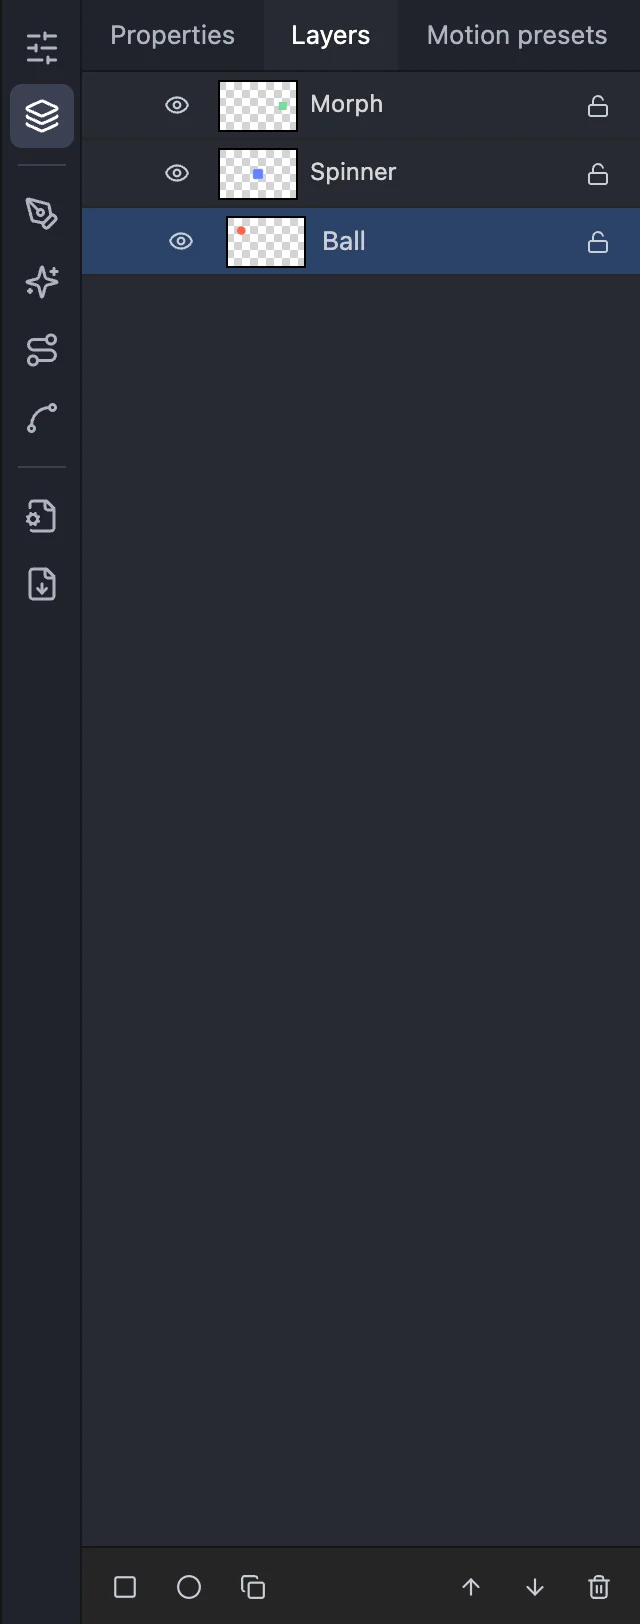
The Layers panel lists layers top to bottom, front to back. The timeline shows the same list.
| Action | How |
|---|---|
| Rename | Double-click the name |
| Reorder | Drag a row, or use the Bring forward / Send backward buttons |
| Hide or show | The eye icon. Hidden layers are left out of playback exports |
| Lock or unlock | The lock icon. A locked layer cannot be selected or changed on the canvas |
| Duplicate | Ctrl/⌘ + D, or the duplicate button |
| Delete | Delete key, or the bin icon |
| Copy and paste | Ctrl/⌘ + C, Ctrl/⌘ + V. Pasted copies are offset slightly |
Arrange
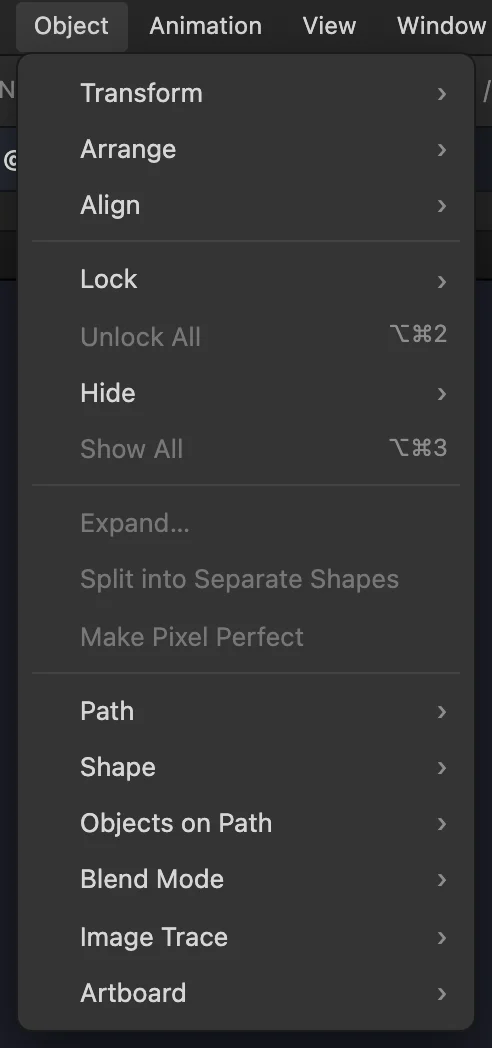
Object > Arrange, or the keys:
| Command | Key |
|---|---|
| Bring to Front | Ctrl/⌘ + Shift + ] |
| Bring Forward | Ctrl/⌘ + ] |
| Send Backward | Ctrl/⌘ + [ |
| Send to Back | Ctrl/⌘ + Shift + [ |
Align
Object > Align, or the six align buttons in Properties: Left, Horizontal Center, Right, Top, Vertical Center, Bottom. Layers align to the artboard.
Lock and hide from the menu
| Command | Key |
|---|---|
| Object > Lock > Selection | Ctrl/⌘ + 2 |
| Object > Lock > All Other Layers | |
| Object > Unlock All | Ctrl/⌘ + Alt + 2 |
| Object > Hide > Selection | Ctrl/⌘ + 3 |
| Object > Hide > All Other Layers | |
| Object > Show All | Ctrl/⌘ + Alt + 3 |
Parenting
A layer can follow another layer. The child inherits the parent's position, rotation and scale. Opacity is not inherited.
- Select the child.
- In Properties, under Layer, choose a Parent.
Move, rotate or scale the parent and the child goes with it. Use it for an arm on a body, eyes on a face, or a group that should move as one. Set the parent back to None to release it; the child stays where it is.
The artboard
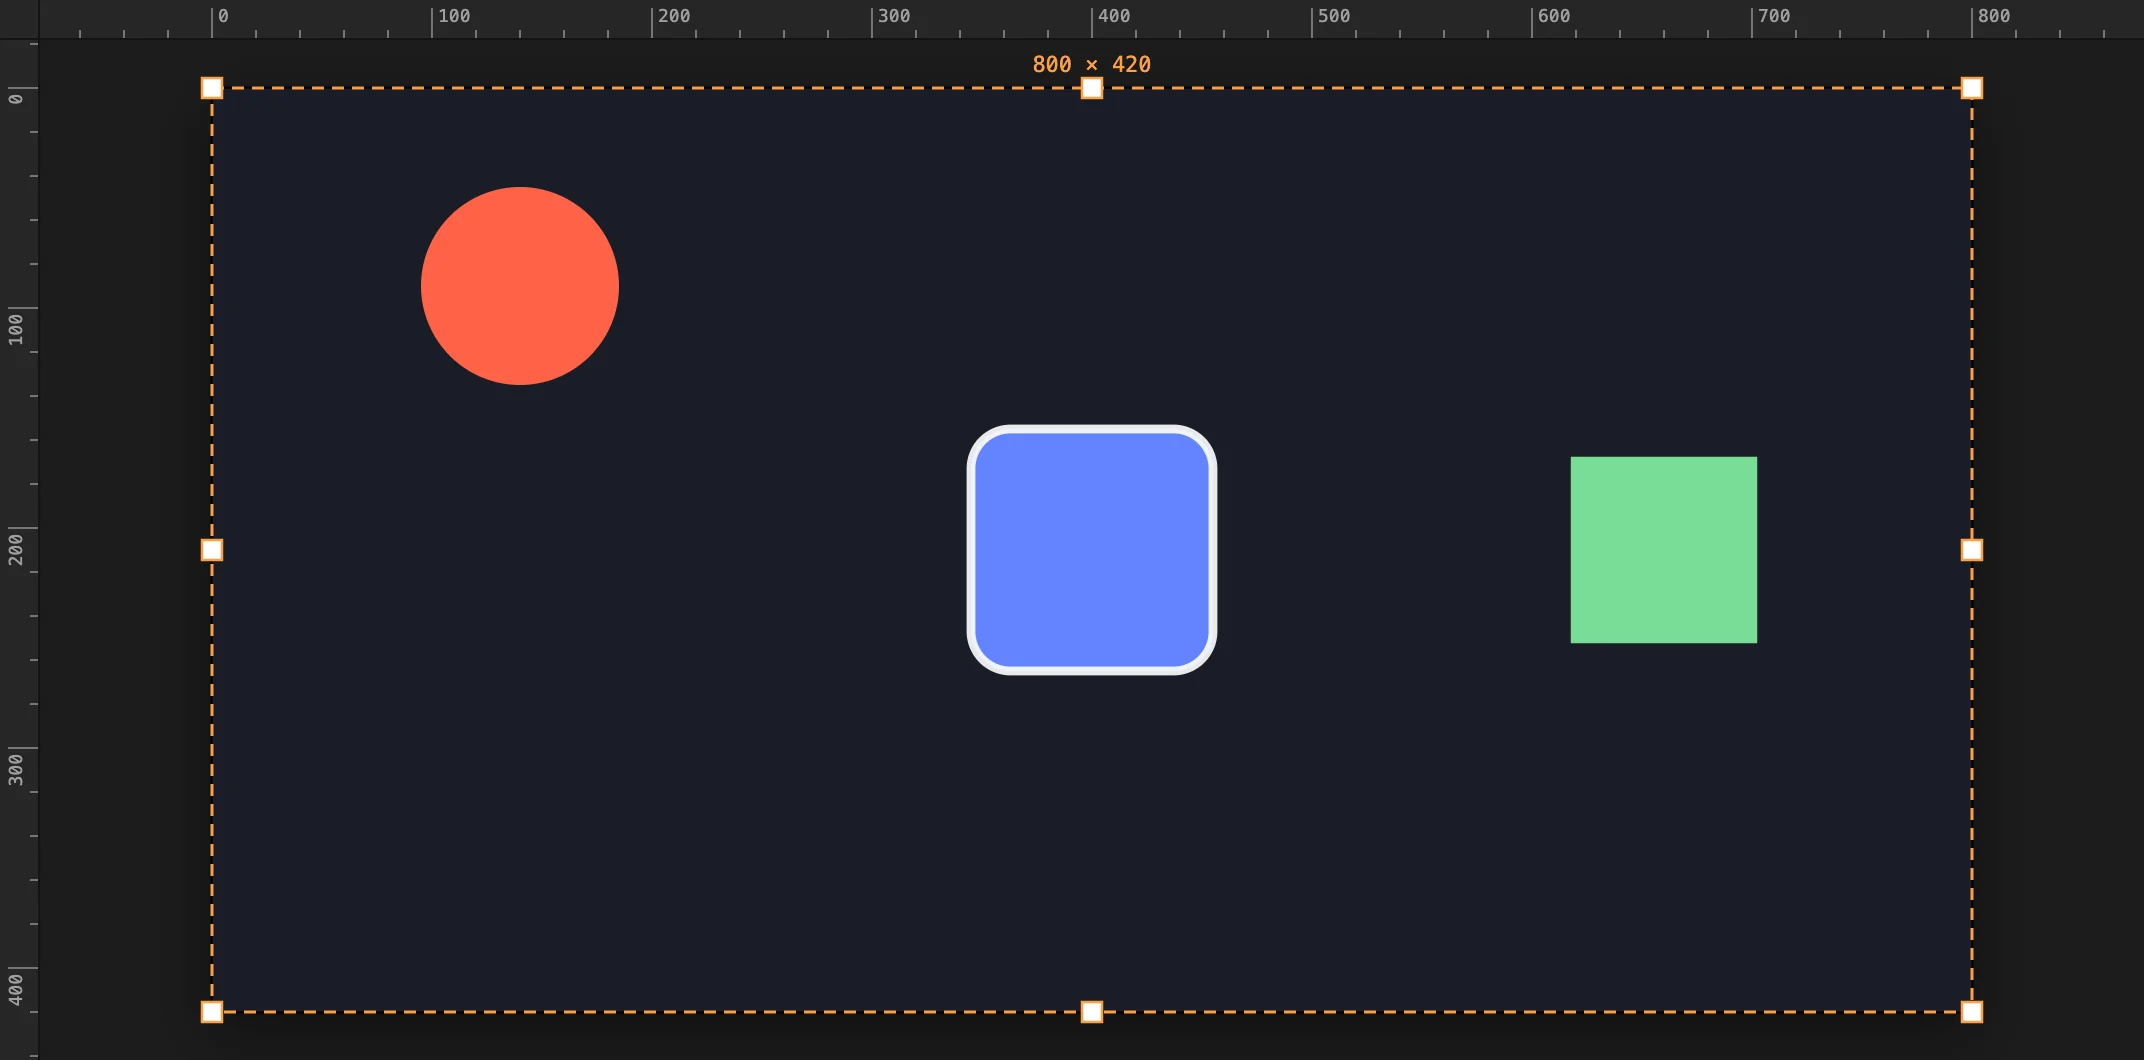
The artboard is the frame that gets exported.
| Action | How |
|---|---|
| Resize by dragging | Press C, then drag an edge or corner |
| Resize by number | Document panel or File > Document Setup… |
| Wrap the artboard around the artwork | Object > Artboard > Fit to Artwork |
| Move the artwork to the middle | Object > Artboard > Center Artwork |
| Swap width and height | The swap button in the Document panel |
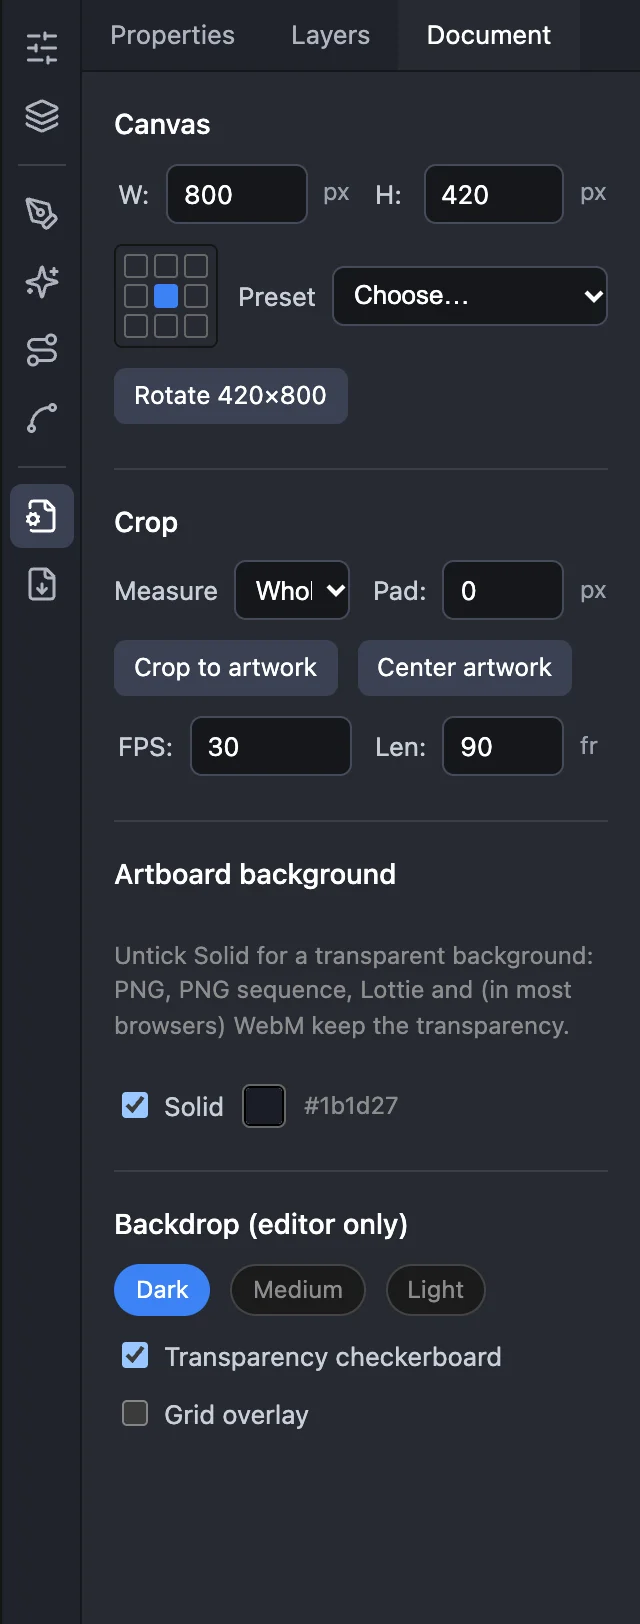
In the Document panel, Crop can wrap the artwork of the Current frame or of the Whole animation, with optional padding (Pad). The nine-point grid picks which part stays in place when the size changes.
Artwork outside the artboard stays visible while you edit and is clipped in every export. View > Fit All in Window shows it all.