Editor guide
The editor is where you draw and animate. It runs in the browser at /editor. There is nothing to install and no account.
This page covers the screen, documents and files. The other editor guides:
| Guide | Covers |
|---|---|
| Drawing and layers | Tools, shapes, the pen, colour, strokes, layers, arranging, the artboard |
| Animating | The timeline, keyframes, easing, motion presets, motion paths, morphing |
| Importing artwork | SVG files, pictures traced to vectors, splitting a word into letters |
| Keyboard shortcuts | Every shortcut in one table |
| Choosing an export | What each export is for |
Your first animation
Five minutes, start to finish.
- Open
/editor. On the start screen choose New…, keep the Default preset, and press Create. - Press R and drag on the artboard to draw a rectangle.
- Press V to go back to the Select tool. Drag the rectangle to the left side of the artboard.
- In the timeline, drag the playhead to frame 30.
- Drag the rectangle to the right side. A keyframe appears at frame 0 and another at frame 30.
- Press Enter. The rectangle moves. Press Enter again to stop.
- Click the first keyframe diamond in the timeline, open the Easing panel, and pick In-out. Play again: the move now starts and ends gently.
- File > Export > Animated SVG (no player needed). Type a name. The file in your downloads folder plays by itself in any browser.
Step 5 works because Auto-key is on: changing a value at a frame writes a keyframe there. See Animating.
The screen
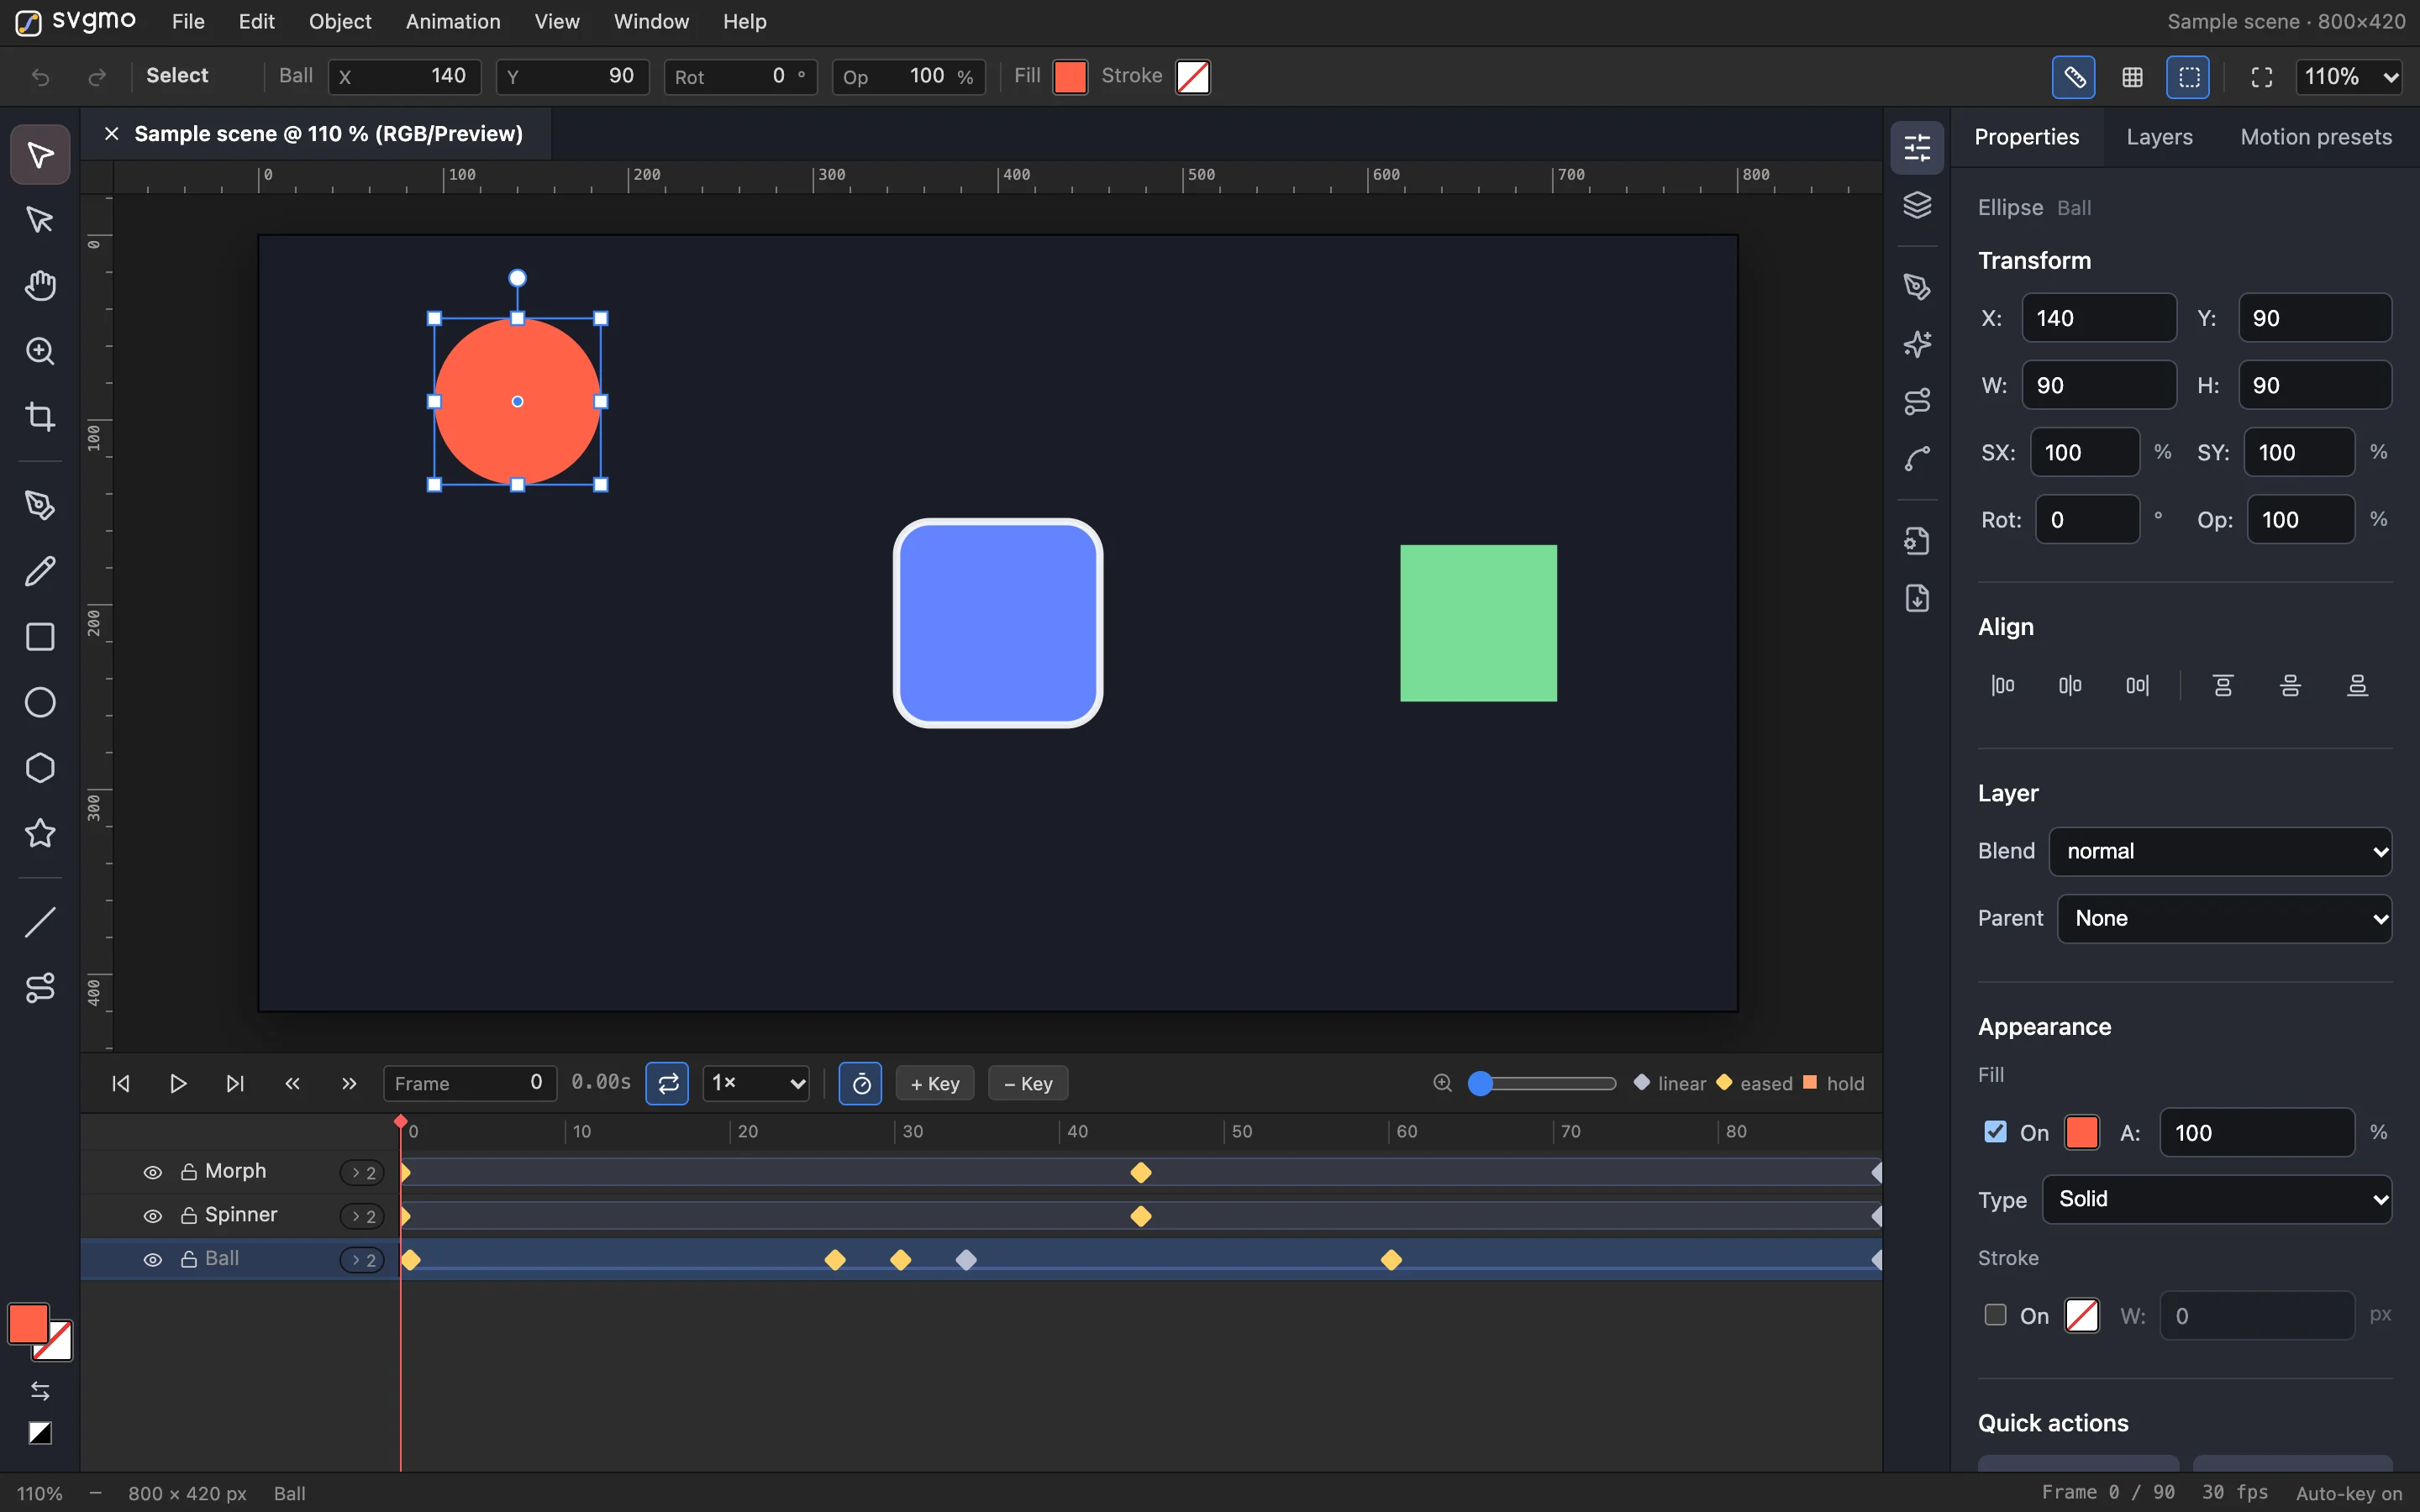
| Area | Where | What it is for |
|---|---|---|
| Menu bar | Top | File, Edit, Object, Animation, View, Window, Help |
| Control bar | Under the menu | Options for the current tool or selection: fill, stroke, zoom, undo and redo |
| Document tabs | Under the control bar | One tab per open document |
| Tools | Left | Select, draw and view tools, and the fill and stroke swatches |
| Canvas | Middle | The artboard, on a backdrop. Artwork outside the artboard is shown but is clipped in every export |
| Panels | Right | Properties, Layers, Motion Presets and more, opened from the icon rail or the Window menu |
| Timeline | Bottom | Playback buttons, one row per layer, keyframes |
| Status bar | Very bottom | Zoom, artboard size, selection, and whether Auto-key is on |
The control bar changes with the tool and the selection:

The status bar:

Window shows or hides the Control bar, Tools and Timeline, and opens any panel. Window > Workspace > Reset Workspace puts everything back.
Panels
The icon rail on the left edge of the panel area opens each panel.
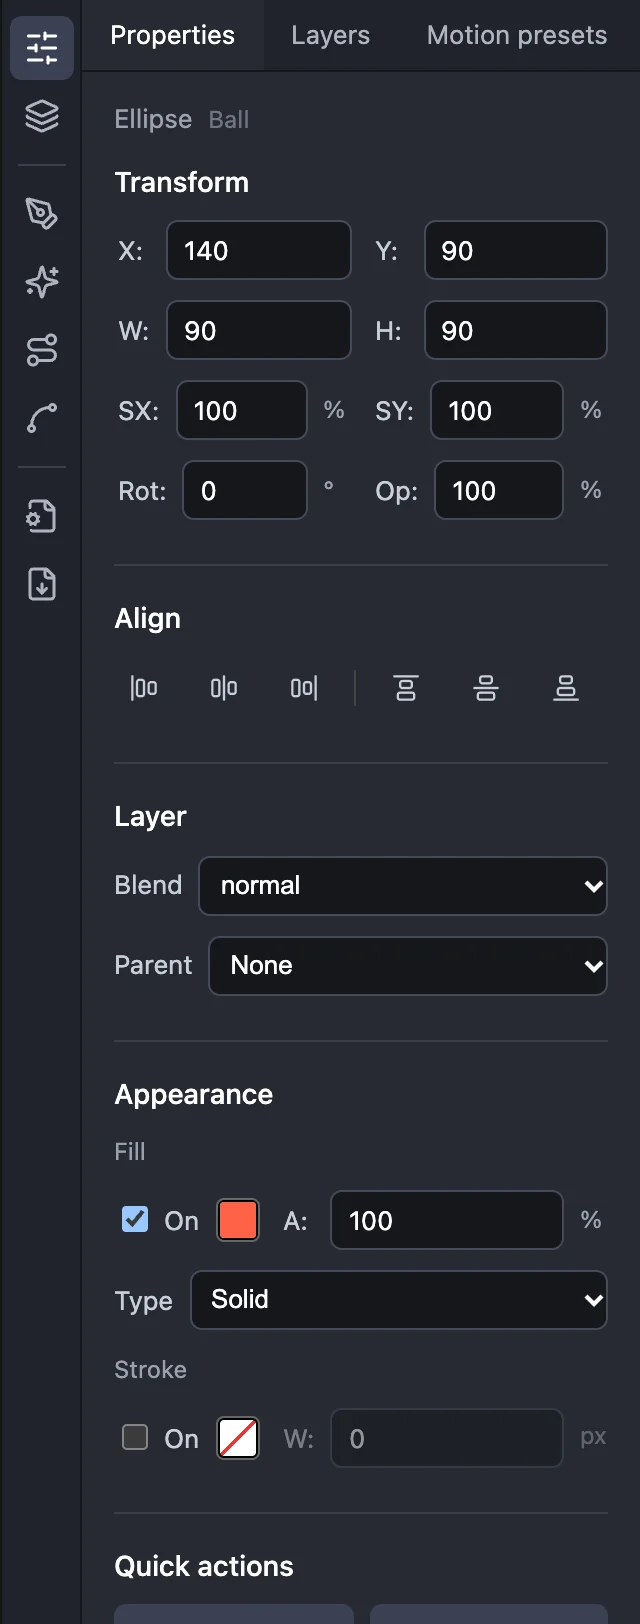
| Panel | Use it to |
|---|---|
| Properties | Change position, size, scale, rotation, opacity, corner radius, fill, stroke, parent |
| Layers | Select, rename, reorder, lock, hide and delete layers |
| Motion Presets | Preview and apply ready-made animations |
| Easing | Shape the speed between two keyframes |
| Motion Path | Make a layer travel along a curve |
| Path | Close, reverse, smooth or sharpen a path |
| Document | Artboard size, frame rate, length, background, crop |
| Import / Export | Import SVG, pictures and project files; every export |
Documents
Start screen
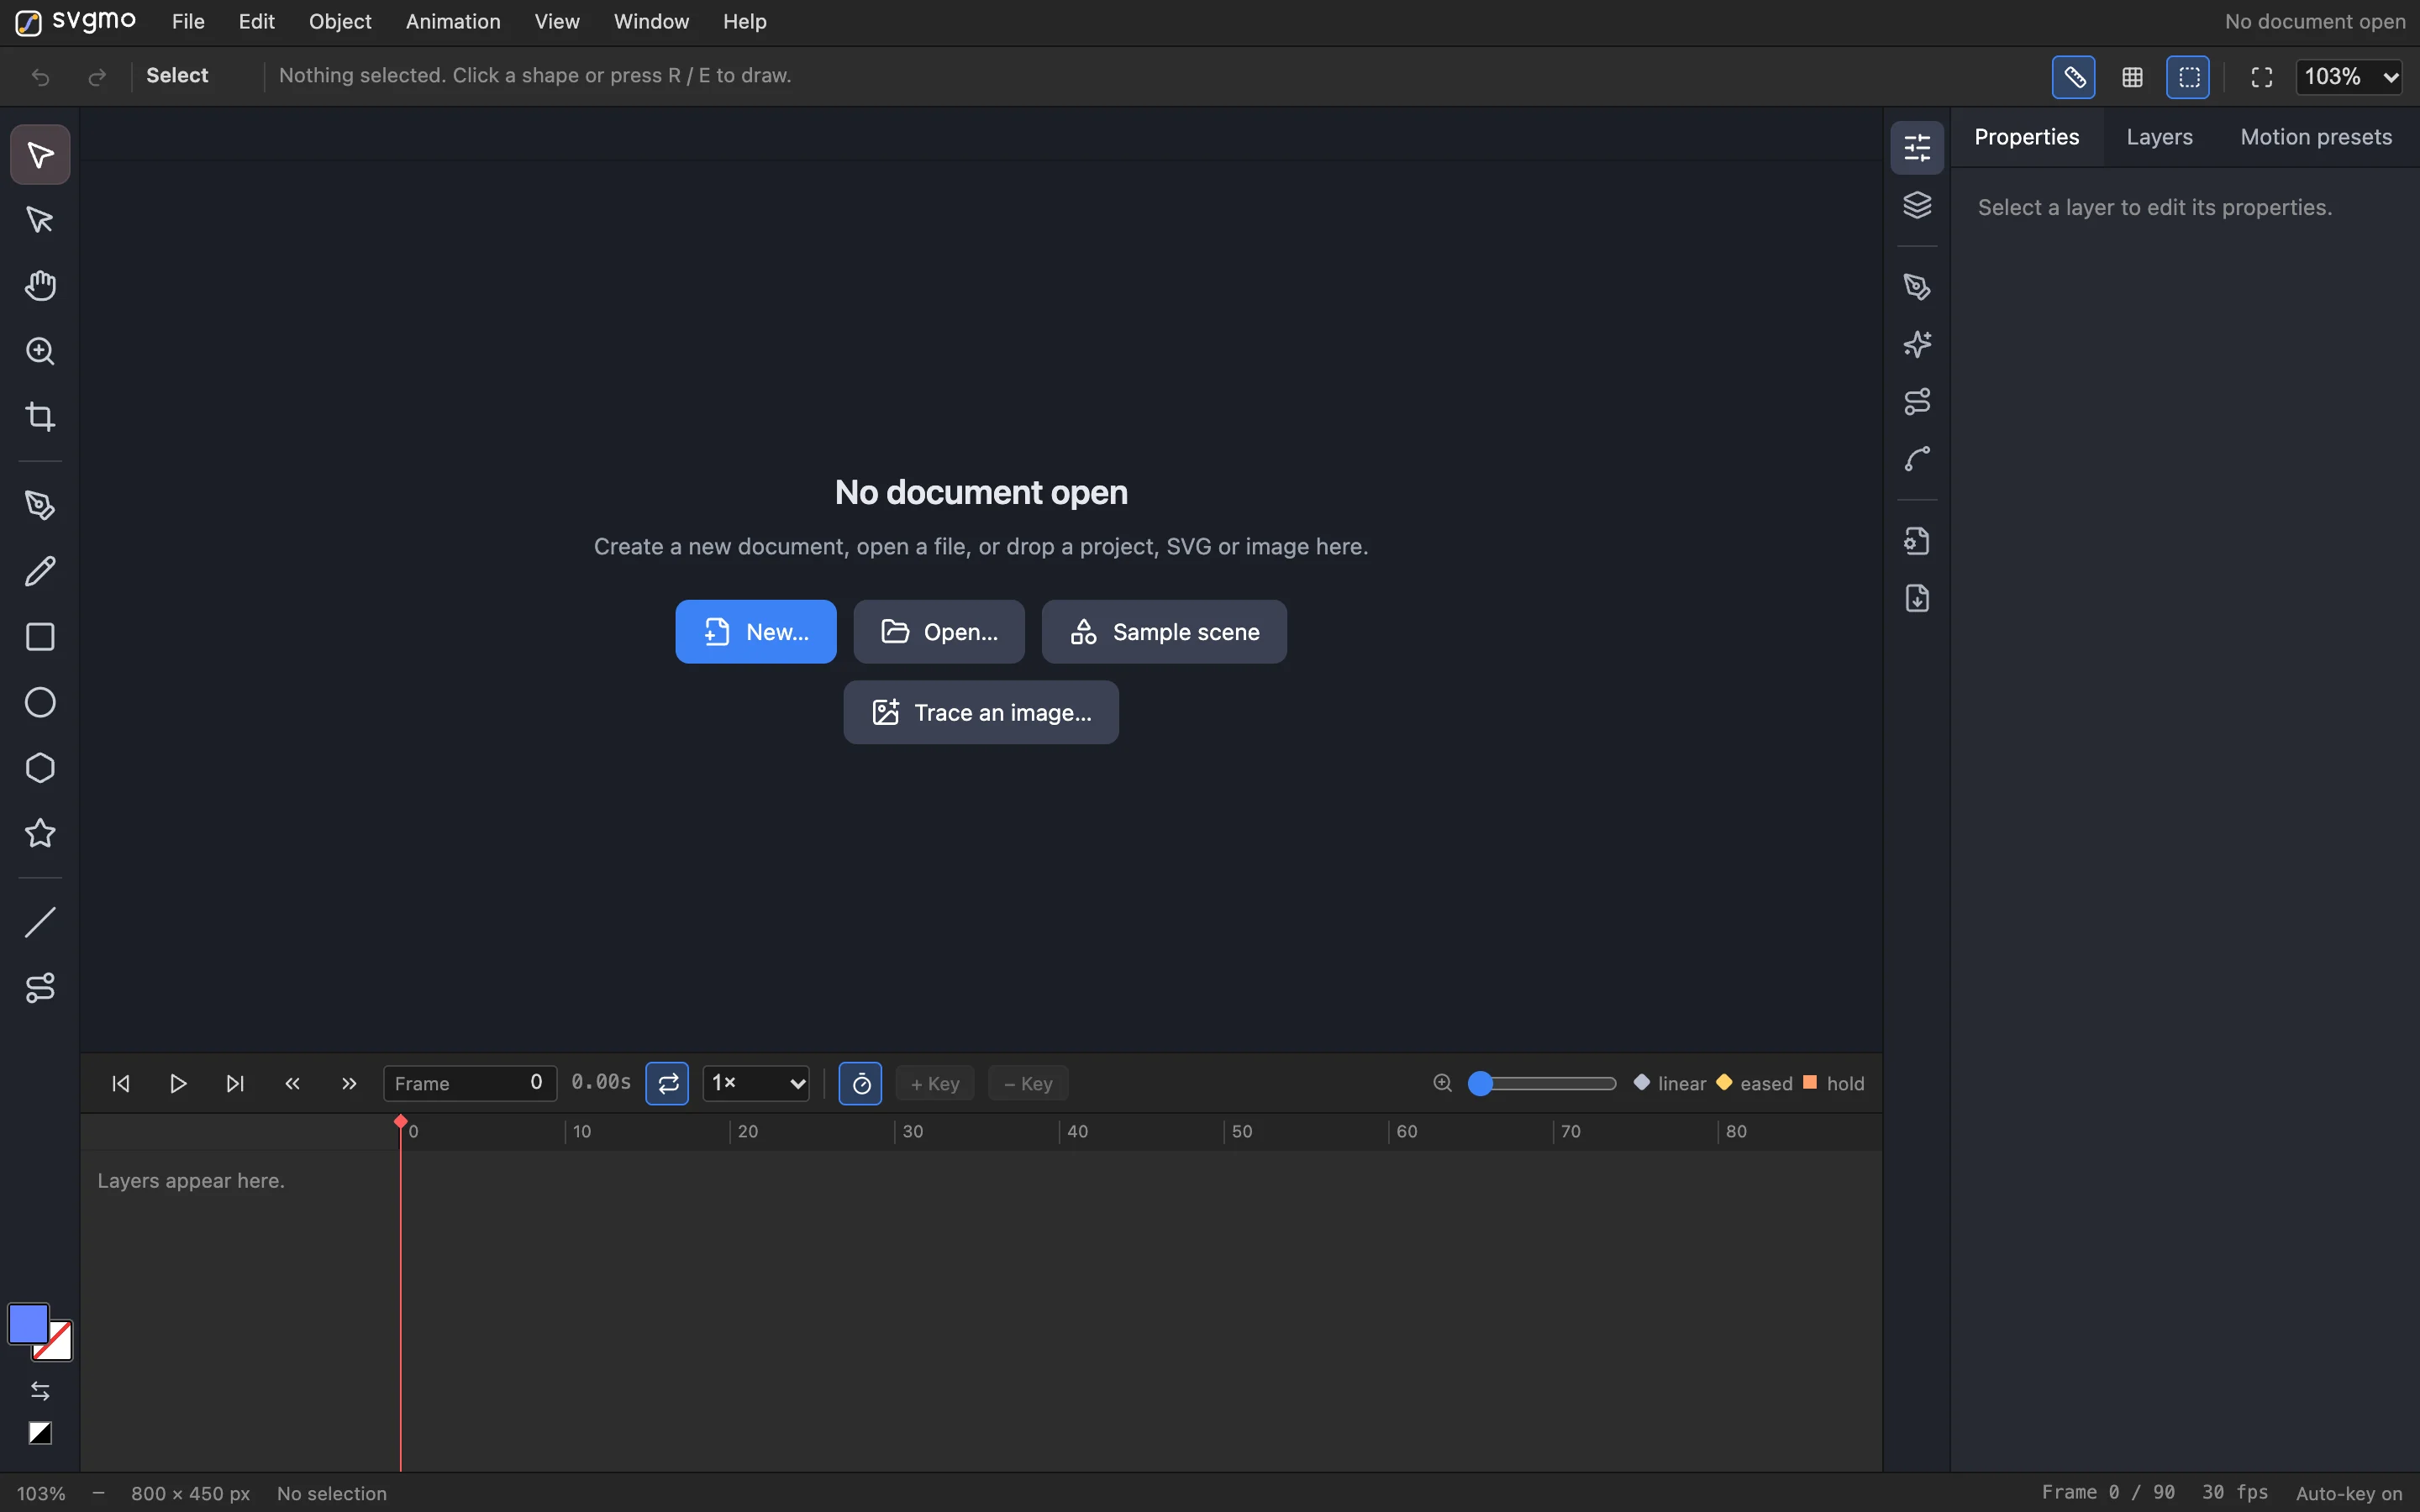
With no document open the editor shows No document open and four buttons: New…, Open…, Sample scene and Trace an image…. You can also drop a project file, SVG or picture onto the window.
New document
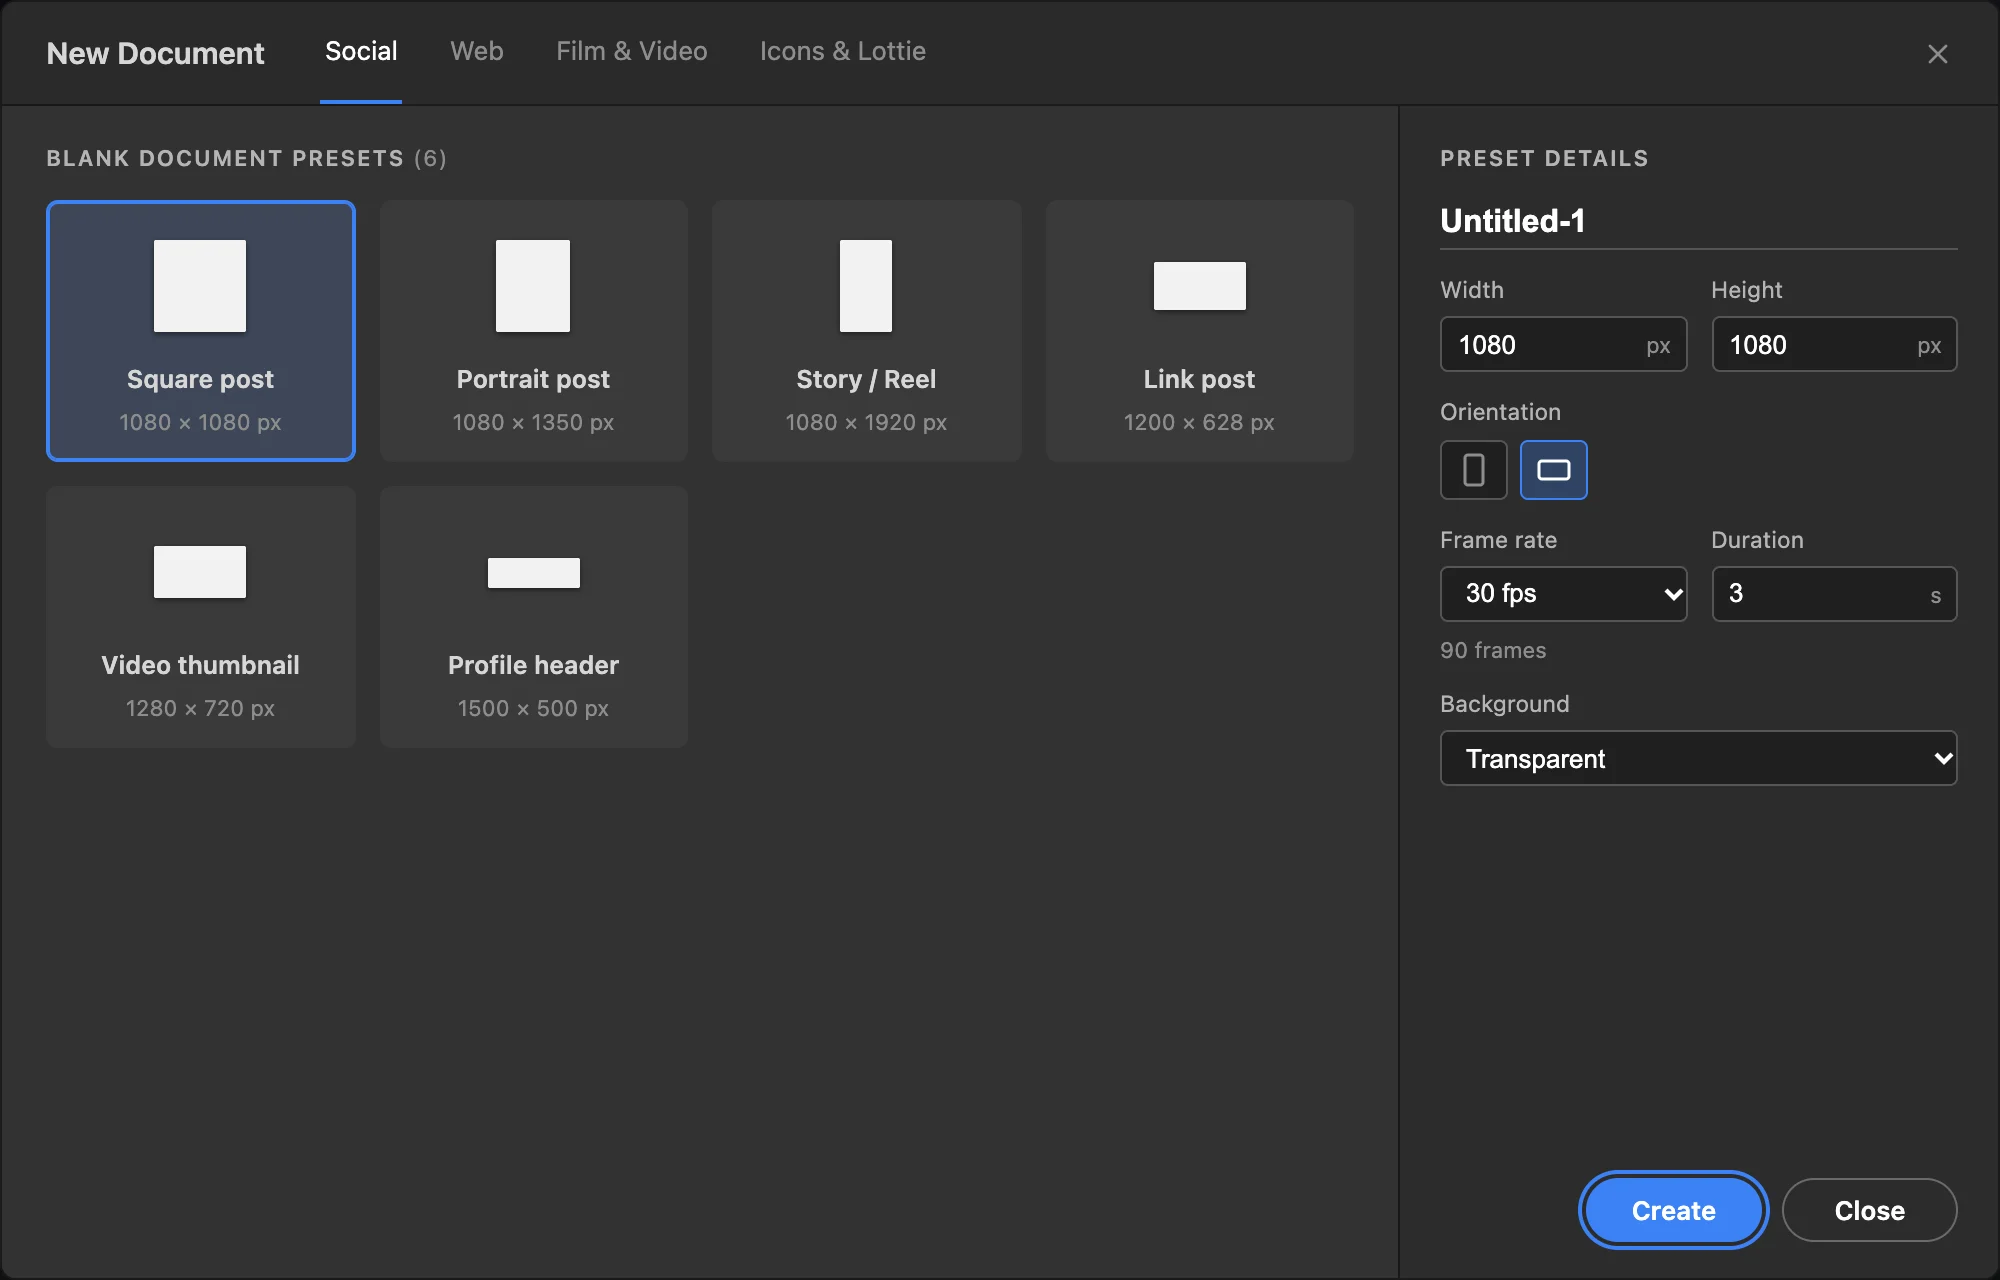
File > New… opens the New Document dialog.
- Pick a category on top: Recent, Web, Social, Icons & Lottie, Film & Video.
- Pick a preset, for example HD 1080p, Square post, Story / Reel, Lottie 512, Icon 64, Loader.
- On the right, change the name, width, height, orientation, frame rate, length and background (transparent or a solid colour).
- Sizes you have used appear under Recent.
Tabs

Each open document has a tab, like in Illustrator.
- Click a tab to switch. Each document keeps its own undo history, zoom and selection.
- Click the × on a tab, or File > Close, to close it. Closing the last one returns to the start screen.
Document Setup
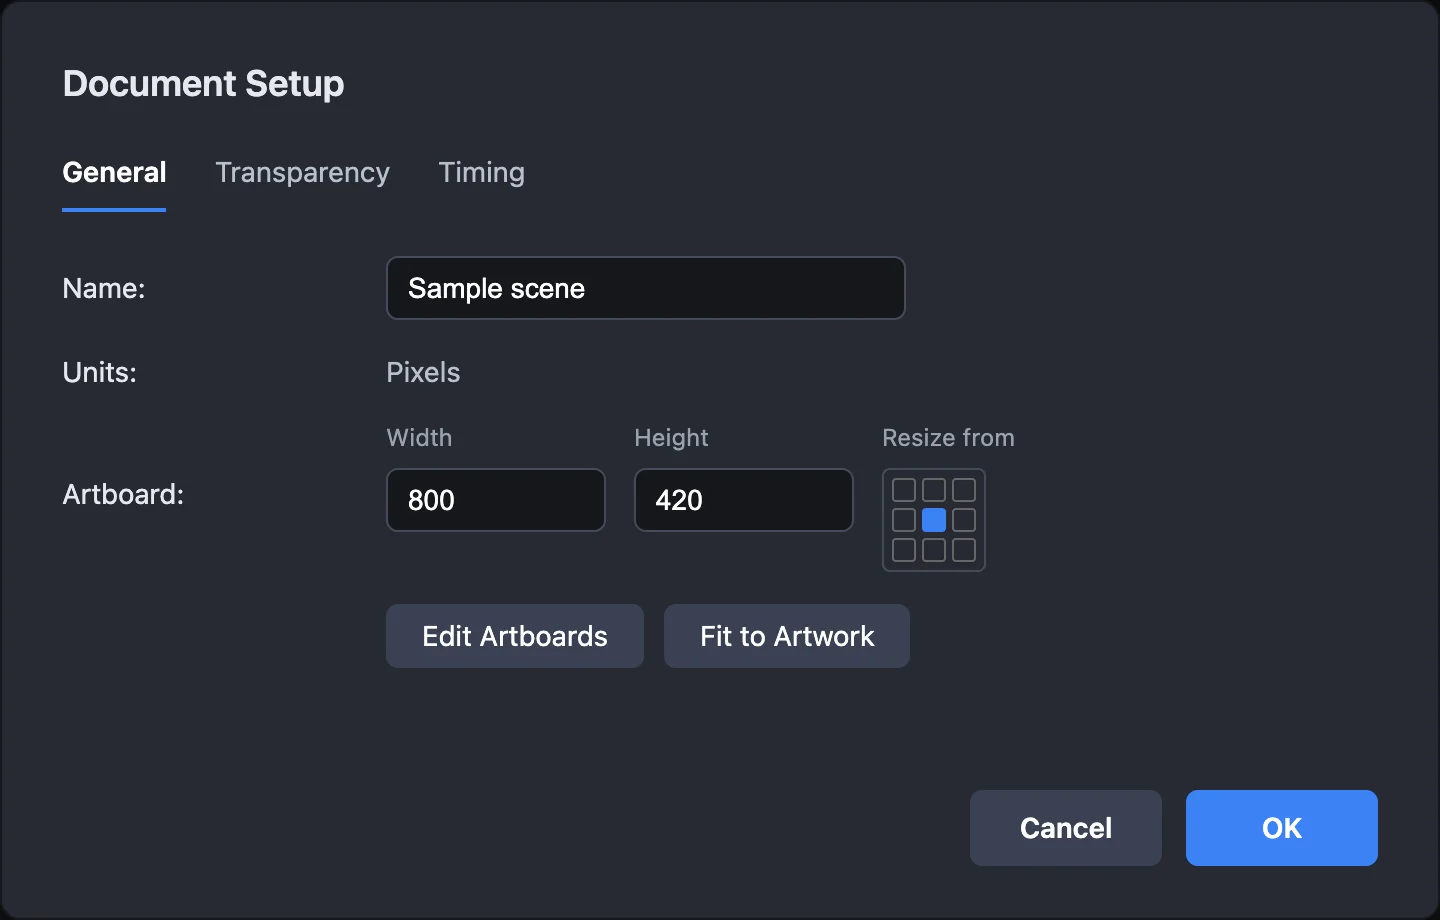
File > Document Setup… (Ctrl/⌘ + Alt + P) changes the open document.
| Setting | Notes |
|---|---|
| Name | Used as the default file name when exporting |
| Artboard width and height | The nine-point grid picks which part of the artwork stays in place when the size changes |
| Edit Artboards | Closes the dialog so you can drag the artboard's edges on the canvas |
| Fit to artwork | Shrinks or grows the artboard to wrap the whole animation |
| Frame rate | Keyframes stay on the same frame numbers, so a higher rate plays faster |
| Duration | Length of the timeline |
| Background | Transparent or a solid colour |
A transparent background is kept in PNG, PNG sequence, Lottie and, in most browsers, WebM exports.
Saving and opening
Your work is kept automatically
Open documents are stored in the browser as you work. Close the tab and come back: they are still there. This storage belongs to this browser on this device. It is not a backup. Clearing the browser's site data removes it.
Save a file
File > Save (Ctrl/⌘ + S) asks for a name and downloads a project file (.json) with everything in the document, hidden layers included. Keep this file to continue later or to move to another computer.
Open a file
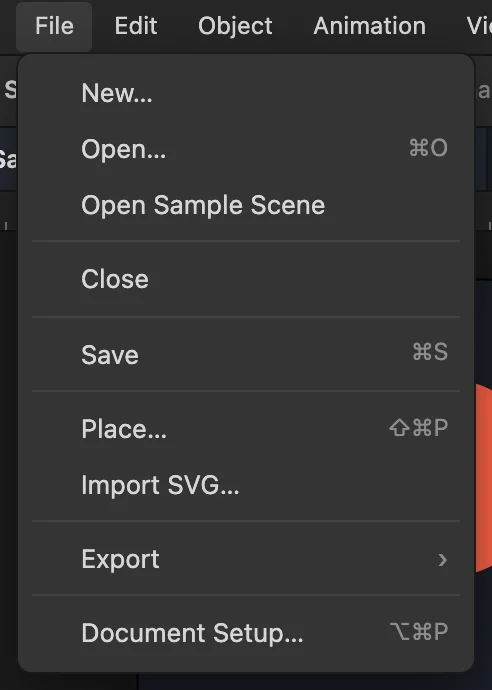
File > Open… (Ctrl/⌘ + O) reads:
| File | Result |
|---|---|
Project file (.json) |
Opens in a new tab |
svgmo file (.json, older .svgmo and .vmotion) |
Opens in a new tab |
| SVG | Imported as path layers |
| PNG, JPG, WebP, GIF | Opens the trace dialog. See Importing artwork |
Lottie files can be exported but not opened.
Dropping a file on the window does the same. File > Open Sample Scene loads a small finished animation to take apart.
Open from the free library
Every animation in the library at /library has an Open in editor button. It opens that file in a new tab of the editor, ready to change.
Viewing
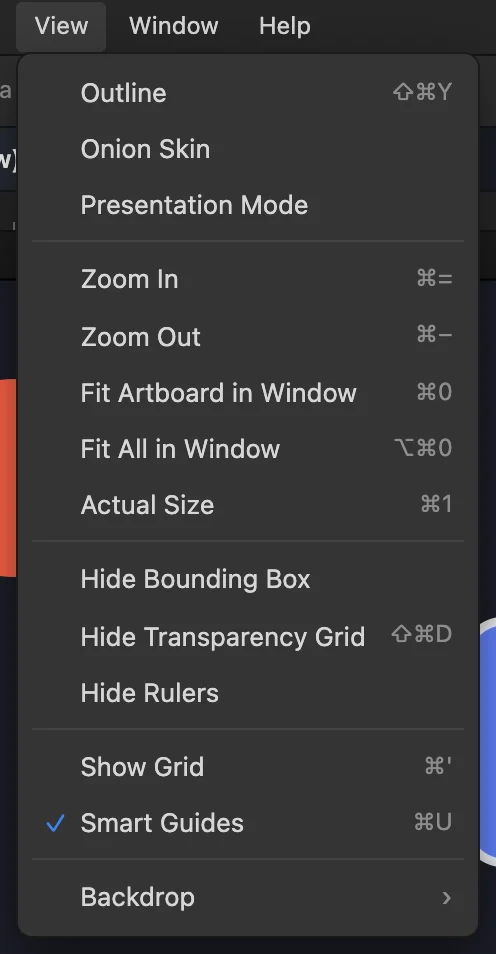
| Action | How |
|---|---|
| Zoom at the pointer | Ctrl/⌘ + wheel |
| Zoom in, zoom out | Ctrl/⌘ + plus, Ctrl/⌘ + minus, or the Zoom tool (Z; Alt + click zooms out) |
| Fit the artboard | Ctrl/⌘ + 0 |
| Fit all artwork, including what is outside the artboard | Ctrl/⌘ + Alt + 0 |
| Actual size | Ctrl/⌘ + 1 |
| Pan | Hold Space and drag, or the Hand tool (H), or scroll |
The View menu also has:
| Item | What it does |
|---|---|
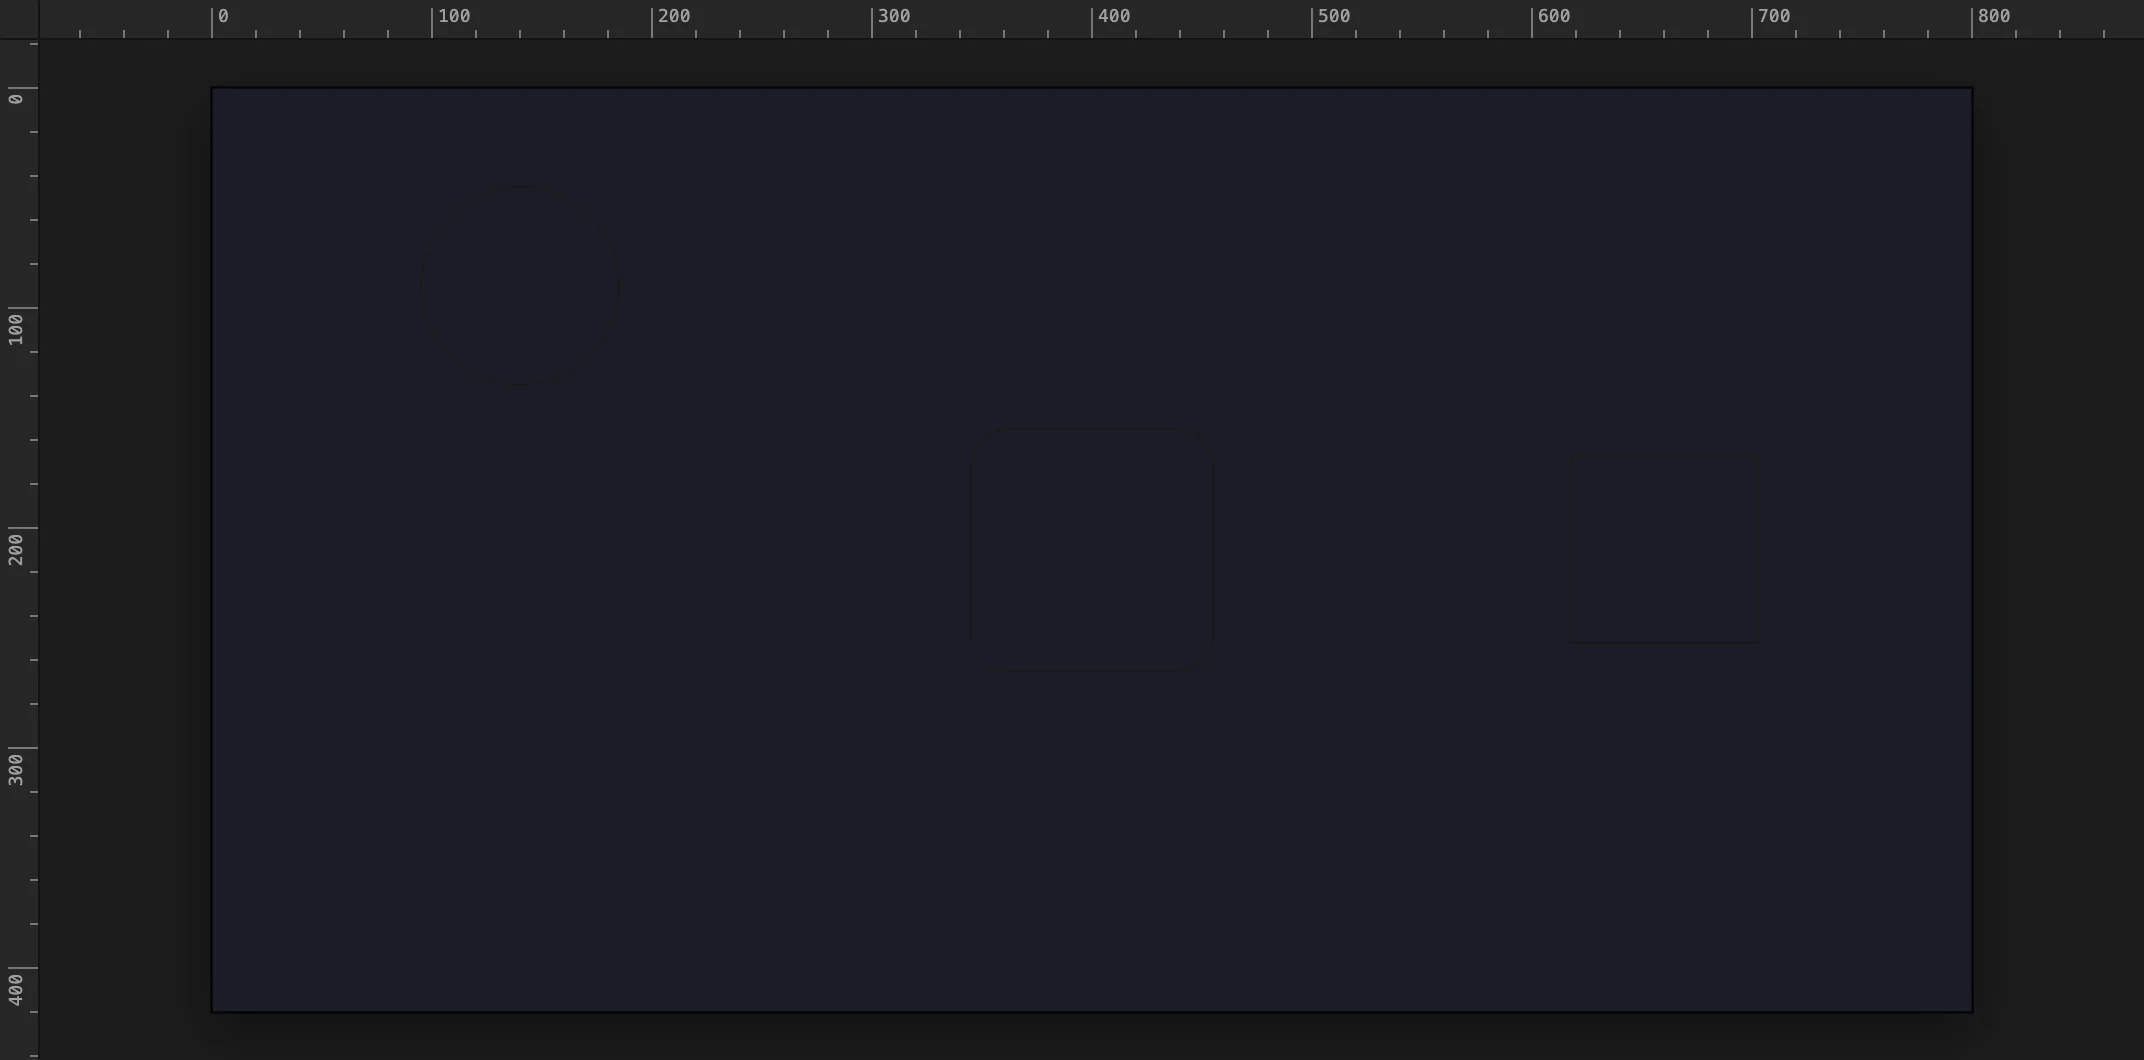
| Outline | Shows shapes as thin outlines, to find things hidden under other things |
| Onion Skin | Shows faint copies of nearby frames |
| Presentation Mode | Hides the interface and shows only the artboard |
| Bounding Box | The selection frame and its handles |
| Transparency Grid | The checker pattern behind a transparent artboard. Hidden, the artboard is plain white. The white is an editing aid and is never exported |
| Rulers | Rulers along the top and left |
| Grid | A grid over the artboard |
| Smart Guides | Snapping to other layers and the artboard while you drag (Ctrl/⌘ + U) |
| Backdrop | The colour around the artboard: Dark, Medium or Light. Editor only |
Outline view:
Undo
Ctrl/⌘ + Z undoes, Ctrl/⌘ + Shift + Z redoes. Each document has its own history. Loading a new document over the current one can also be undone.
Exporting
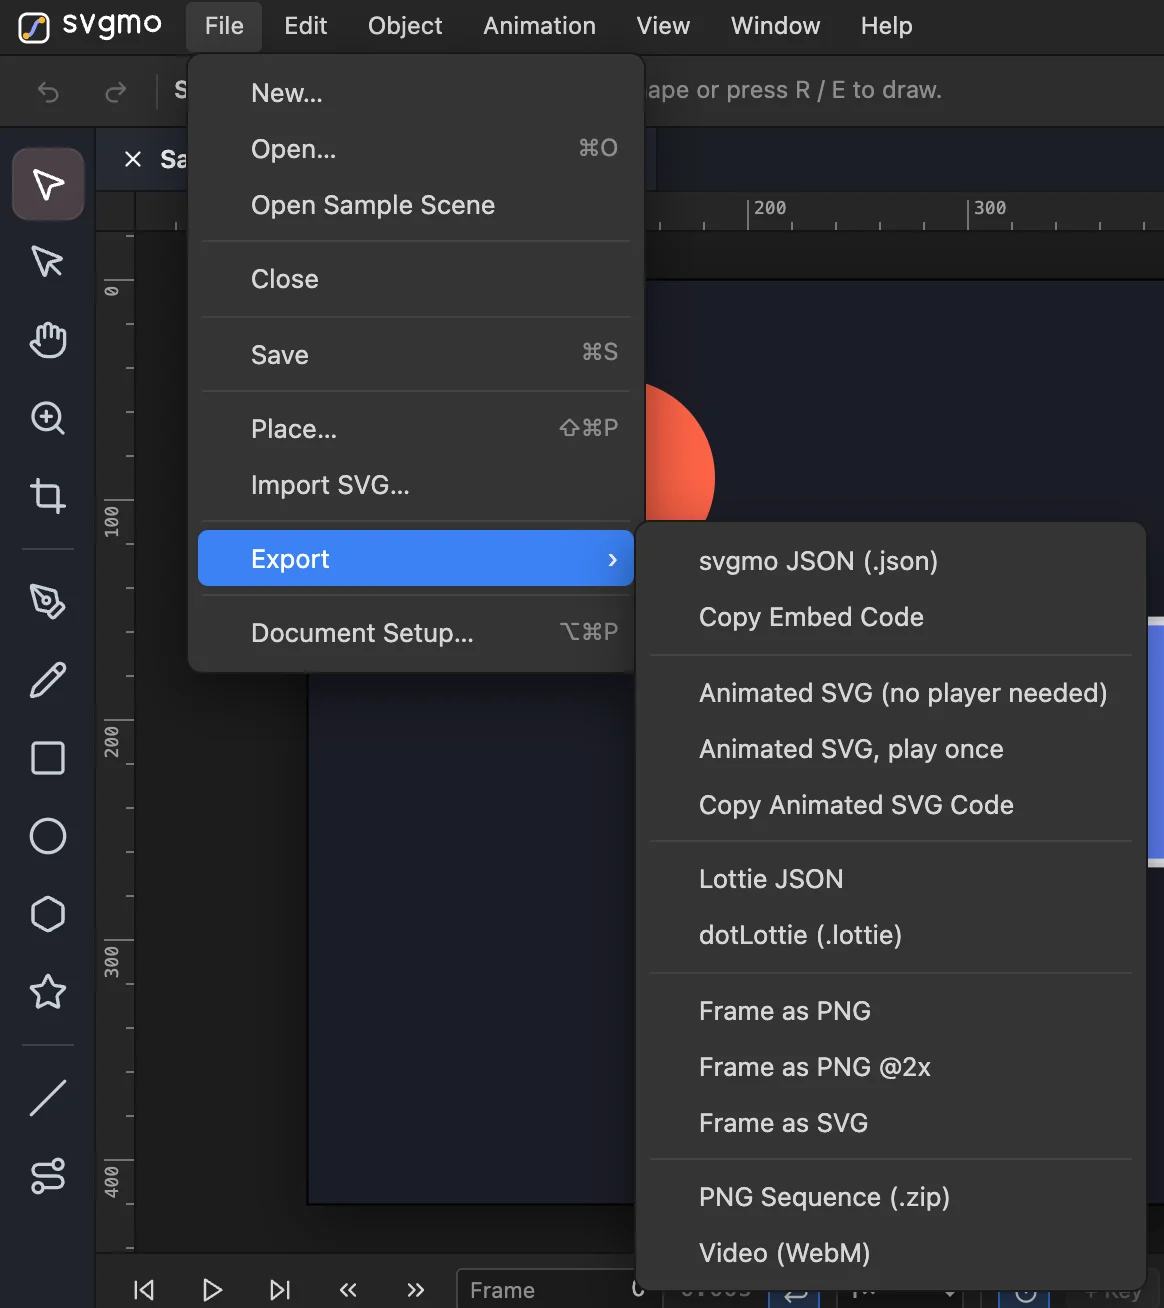
Every export is under File > Export and in the Import / Export panel. Each asks for a file name first. Choosing an export explains which to use.
Limits to know
- The editor has been tested in Chromium browsers (Chrome, Edge). Safari and Firefox have not been run.
- Video export needs a browser that can record video; the menu item is greyed out where it cannot.
- The eyedropper that picks a colour from anywhere on screen needs a Chromium browser.